Biathlon rifles should be cleaned after about 200-500 rounds of firing, or, after every two weeks of use. After every use, all exterior metal parts need to be wiped down with a light coat of oil to prevent rust caused by fingerprints or moisture. This is particularly important if the rifle is wet or has condensation after shooting in sub-zero temperatures. Keeping your rifle clean, all the various fasteners tightened, and careful treatment during practice and competition will keep your rifle accurate and working properly for years. Most malfunctions and loss of accuracy are caused by dirty, or improperly cleaned rifles. If you notice any damage to the trigger mechanism, rear sight or elsewhere, allow your coach to inspect it prior to using it next.
Cleaning Equipment
There are many pre-packaged cleaning kits available, and can be found at local hunting stores or even Canadian Tire. Make sure your kit has the following items:
Required items
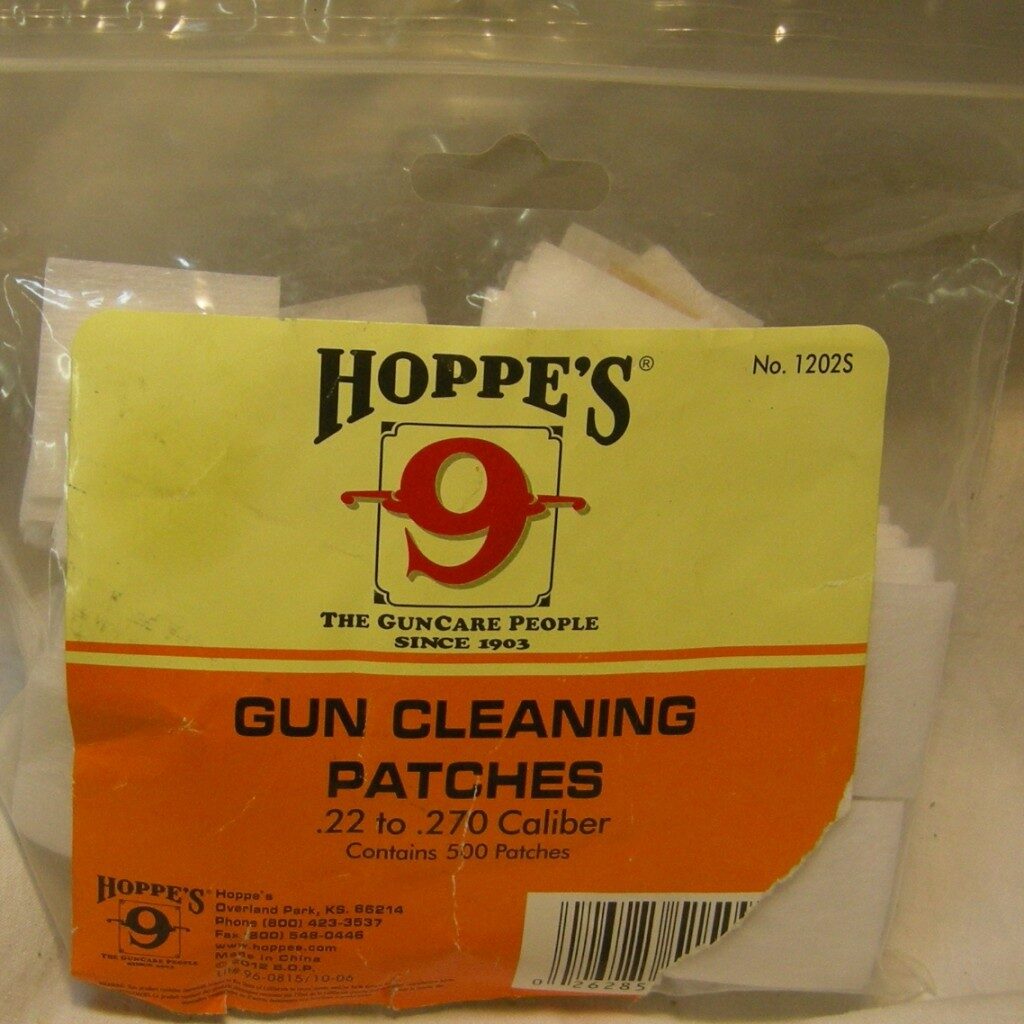
- 0.22 calibre cleaning patches. These are used to carry oil and solvents inside the bore of the rifle.
- 0.22 calibre cleaning rod: The cleaning rod is used to help clean the bore of the rifle. Try to find a one-piece rod with a rotating handle.
- 0.22 calibre brass jag: Jags are attached to the end of the cleaning rod and used to push cleaning patches through the bore.

- 0.22 calibre nylon and brass brushes: Brushes are attached to the end of the cleaning rod and used to brush the surface of the bore. Brass brushes are used for more thorough cleaning. These will wear out fairly rapidly so replace as needed.

- Gun oil: Used to clean and protect the metal surfaces from rust.
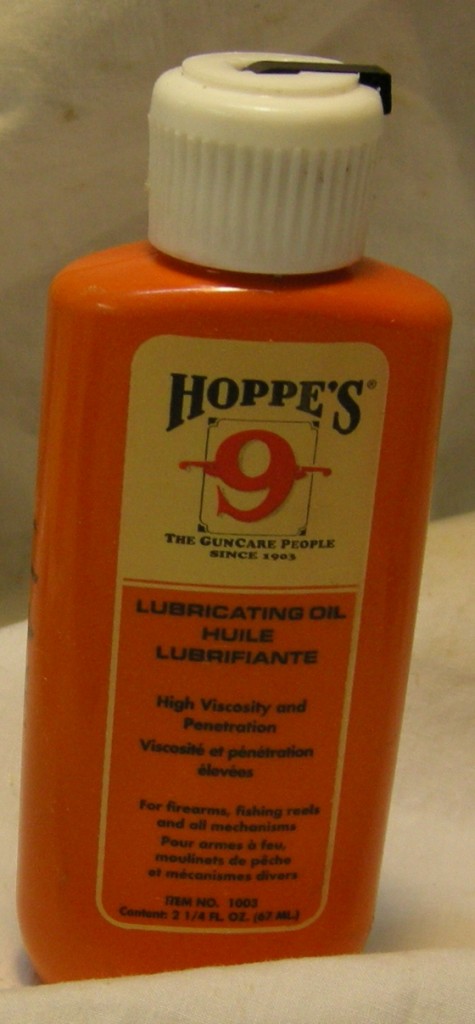
- Gun solvents: Used for cleaning when the rifle is especially dirty. Best to avoid solvents that are heavy on ammonia. Ammonia is used to dissolve copper fouling. Copper is not used in biathlon ammunition.
- Dentist picks/probes: Used to help clear out hard to reach areas (such as the extractor holes).

- Tooth brushes: Used to scrub surfaces.
- Lint free rags: Used to apply oil to the surface of the rifle.
- Tools for disassembling your rifle: Required to access all the areas that need cleaning.
Recommended items
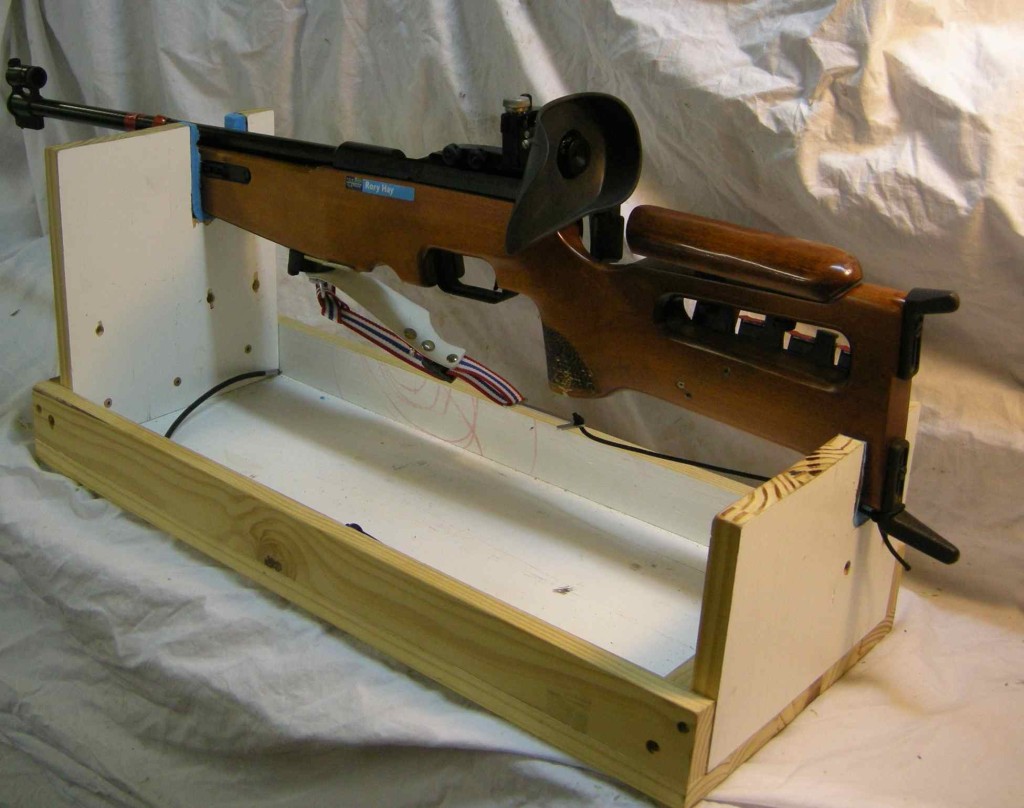
- Rifle clamp or stand (optional): holds your rifle in place while you clean it.
- Bore guide (highly recommended): This tool is specific to each brand of rifle and it replaces the bolt in the receiver and guides the rod into the breech. This is a very important tool for cleaning. Rod alignment will create an even cleaning action and prevent damage to the breech. It also keeps debris out of the trigger mechanism.

- 0.22 calibre cable rods (highly recommended): This consists of a cable that can pull a cleaning patch through the bore without disassembly.
General Cleaning Procedure
Always clean from the breach end—never from the muzzle end. Be extra careful with the crown of the barrel – if you scratch or damage this area, your accuracy will be compromised!
Step 1: Remove the bolt and replace with bore guide (if available).
Steps to remove the Izhmash System Bolt:
- Mark the position of the rear sight using tape. This is so you can put it back exactly where it was before you started cleaning.
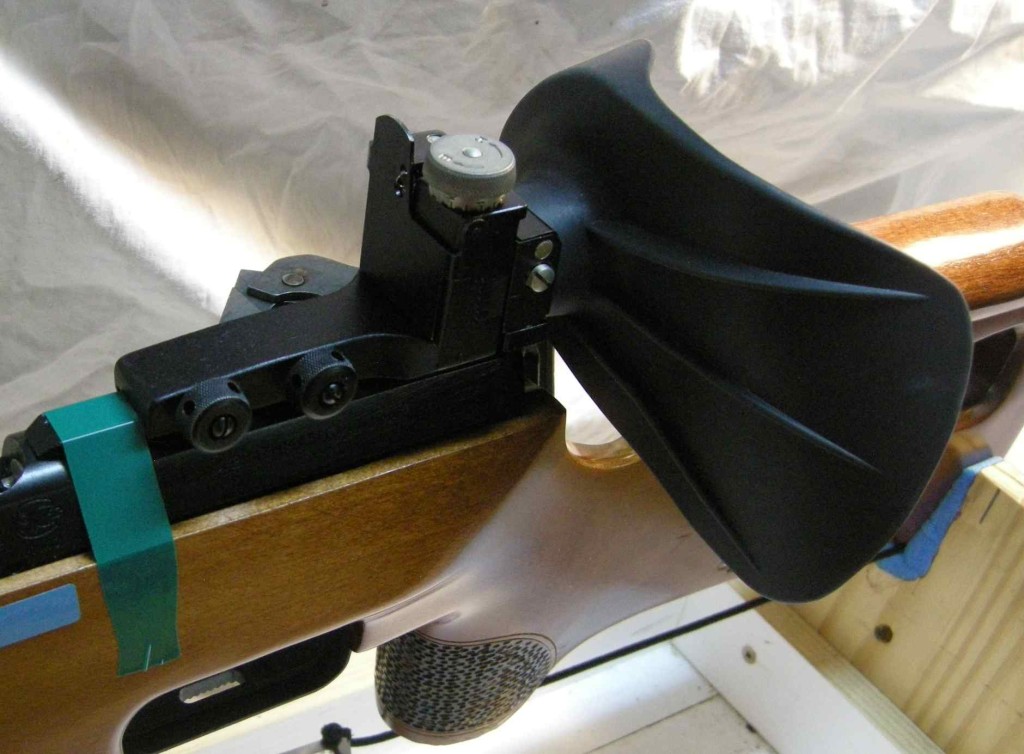
- Remove the sight from sight rail. First loosen two side screws, then slide off rail towards rear.
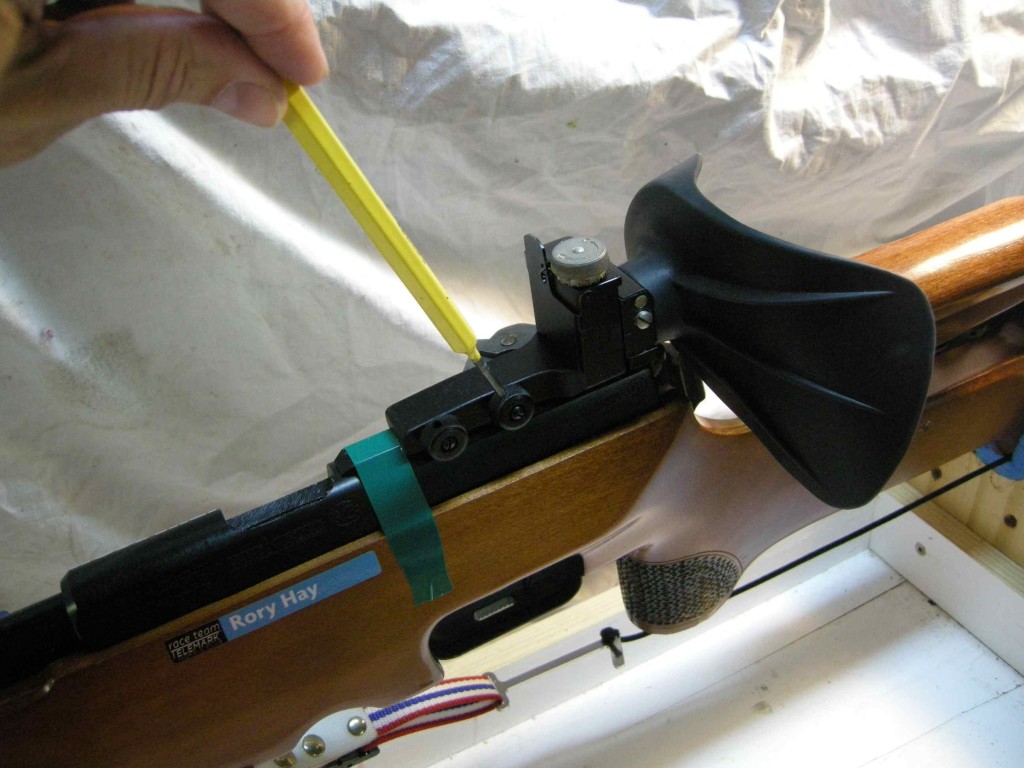
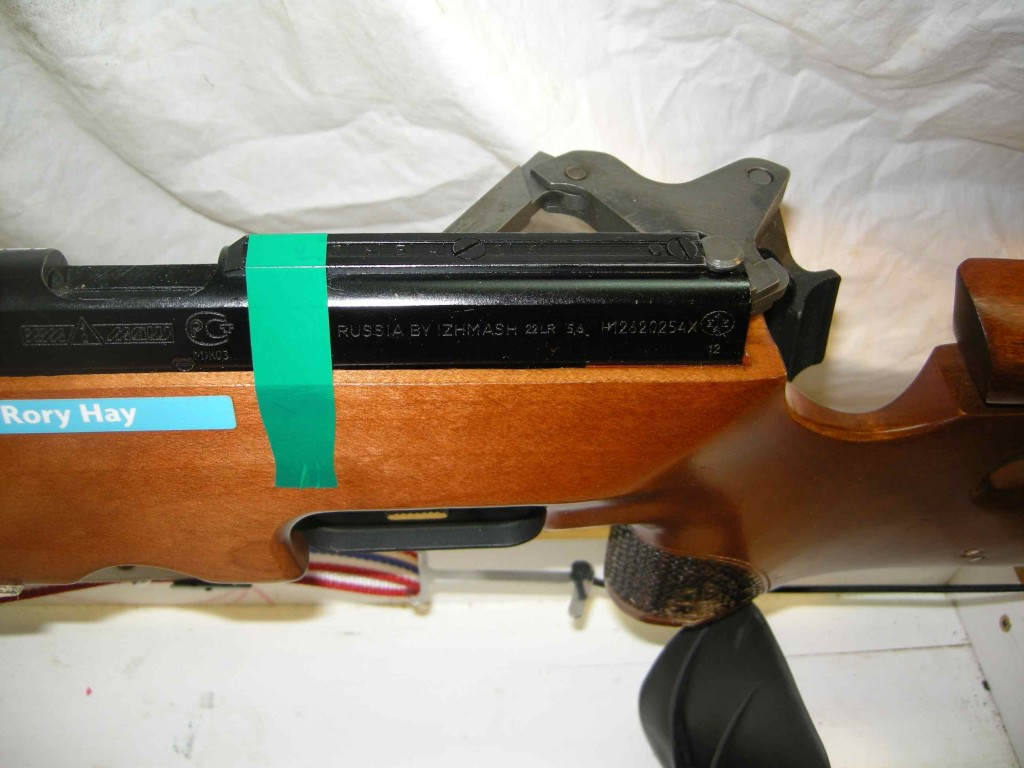
- It may be required to remove the action from the stock in order for the cleaning rod to access the breech.
- Unscrew the bedding bolts with a flathead screwdriver and pull the action off of the stock.
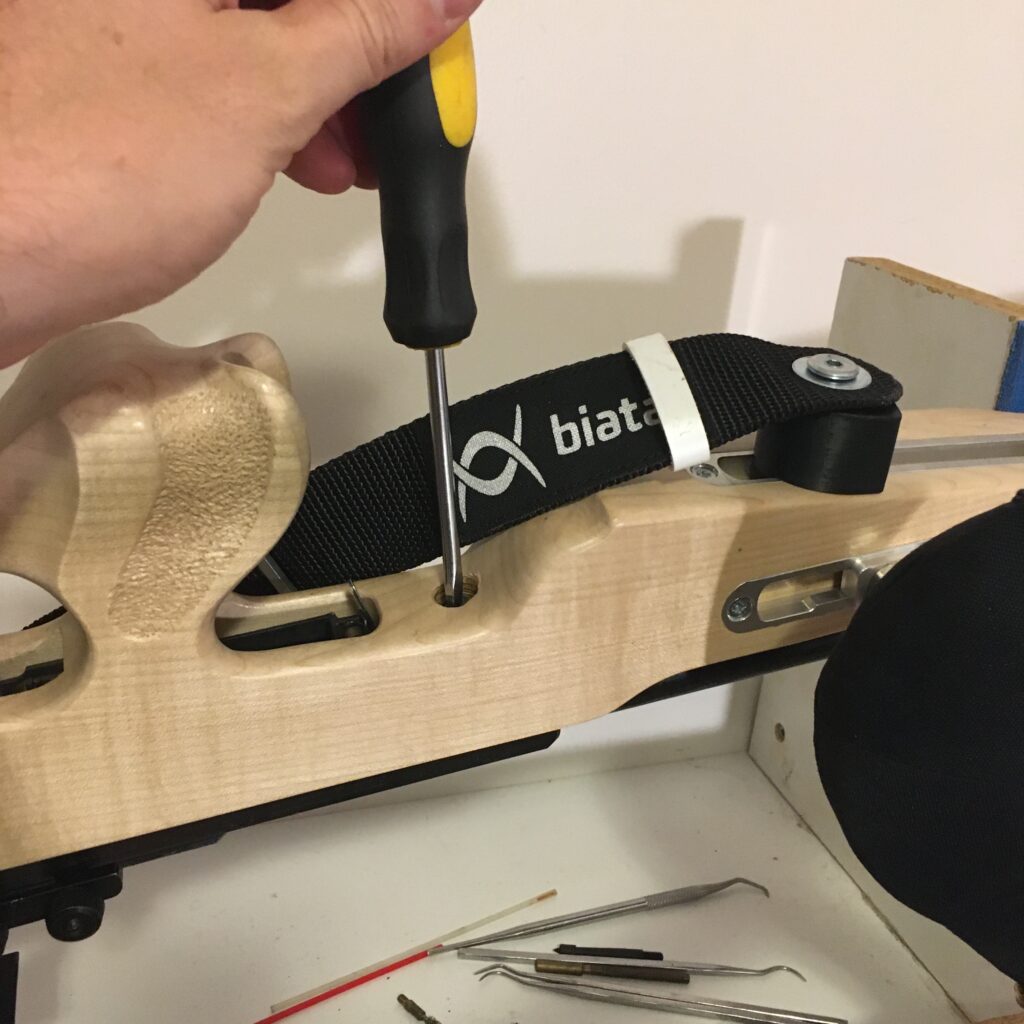
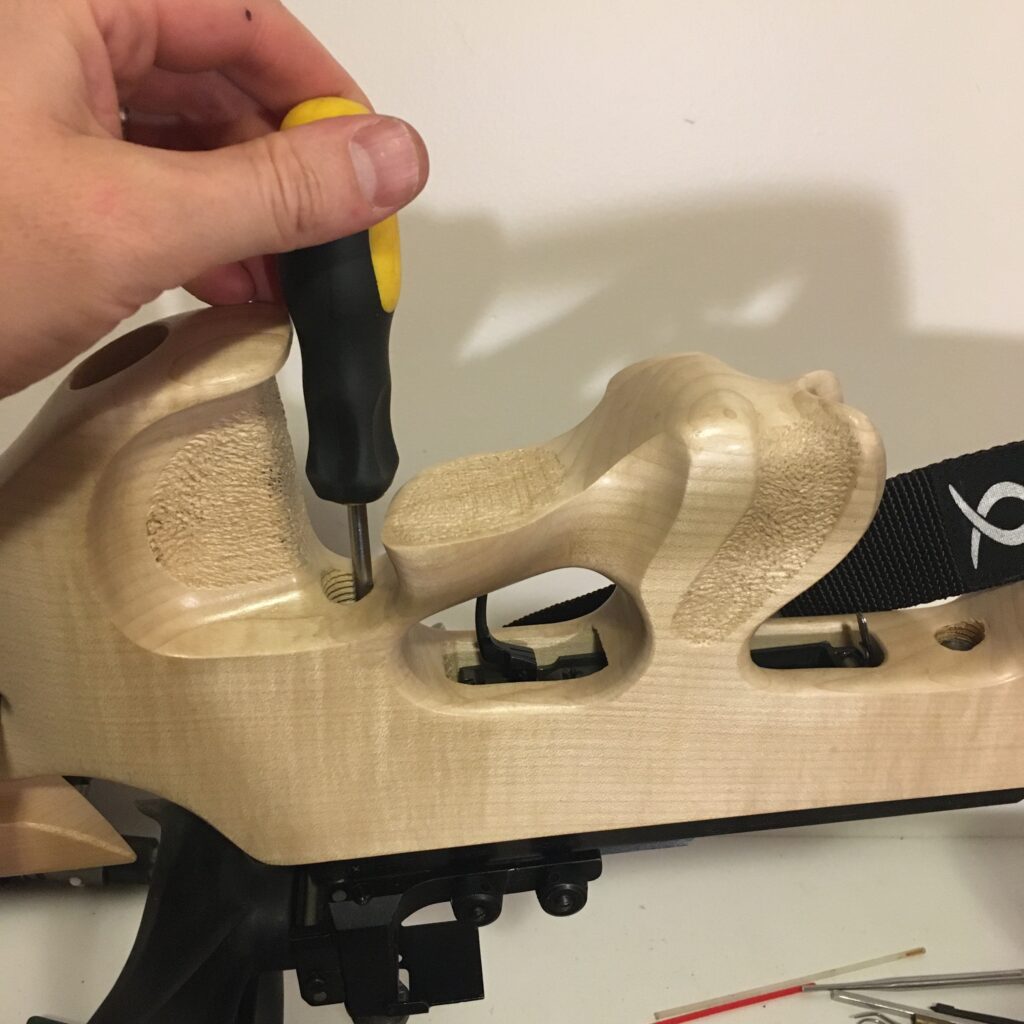
- Next remove the pivot pin at rear of bolt. You must simultaneously depress the release tab on the bolt while pulling the pin upwards. Clean the pin with an oily cloth.
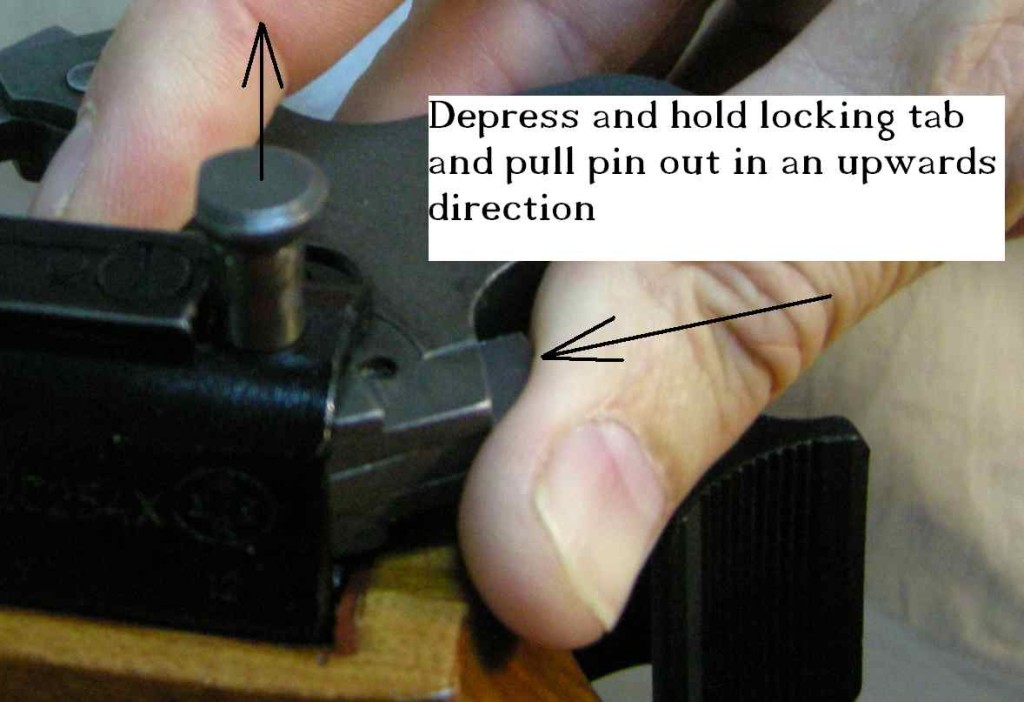
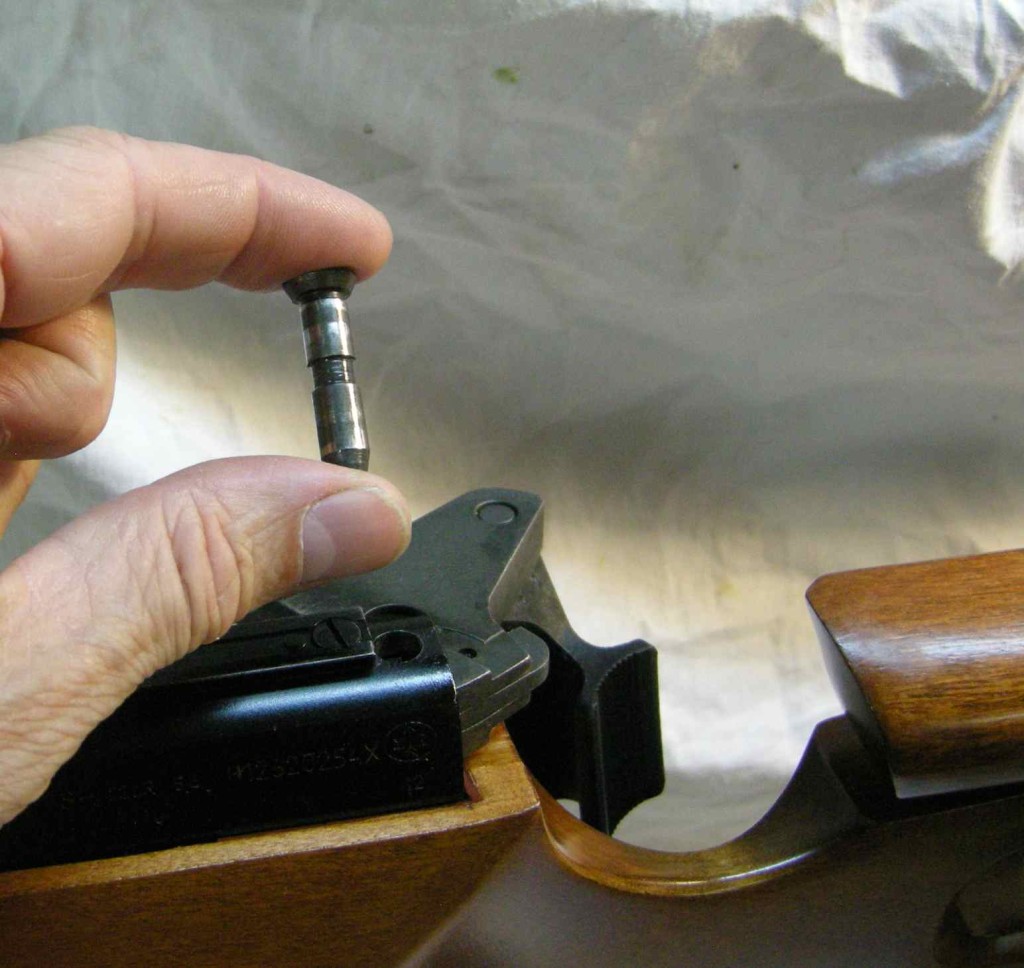
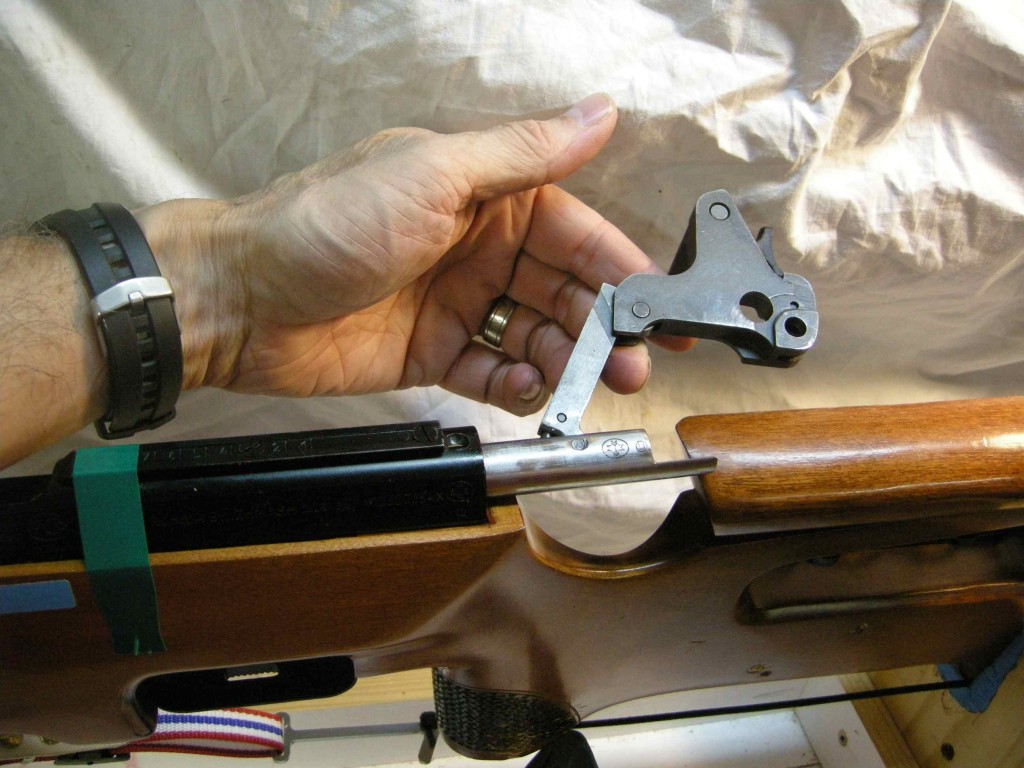
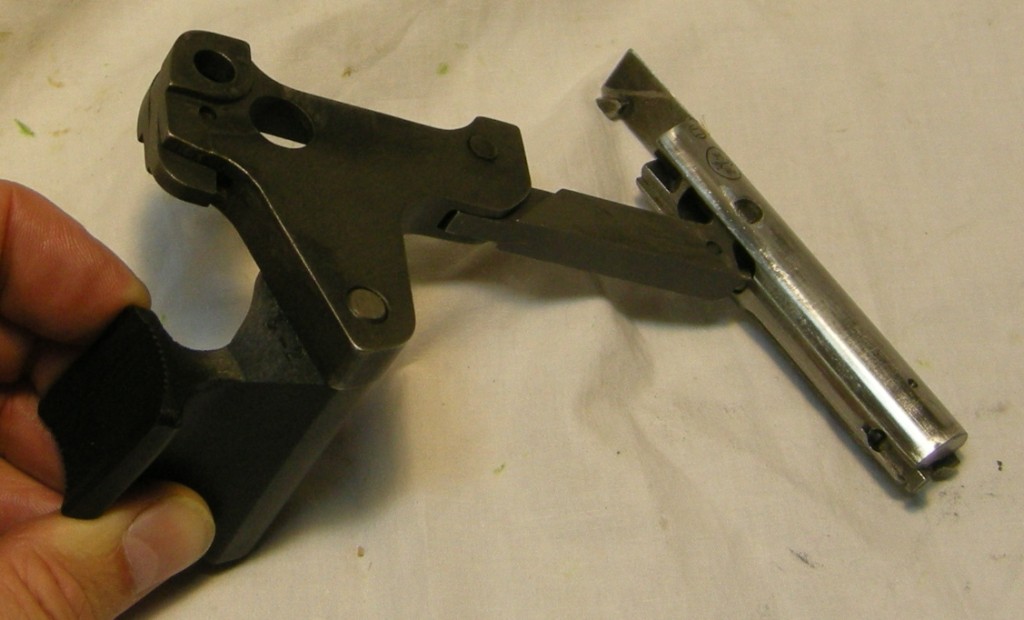
- Remove bolt by sliding it out in a rearward direction, and then insert the pivot pin back into the bolt so it does not get lost. Set bolt aside in clean area.
Steps to remove the Anschutz Fortner System Bolt:
- Anschutz stocks come with a system that allows the cheek piece to be removed without affecting its actual position. If your stock does not have this system, it is recommended that you remove the action from the stock.
- Remove cheek piece out of way with a 4mm Allen key.
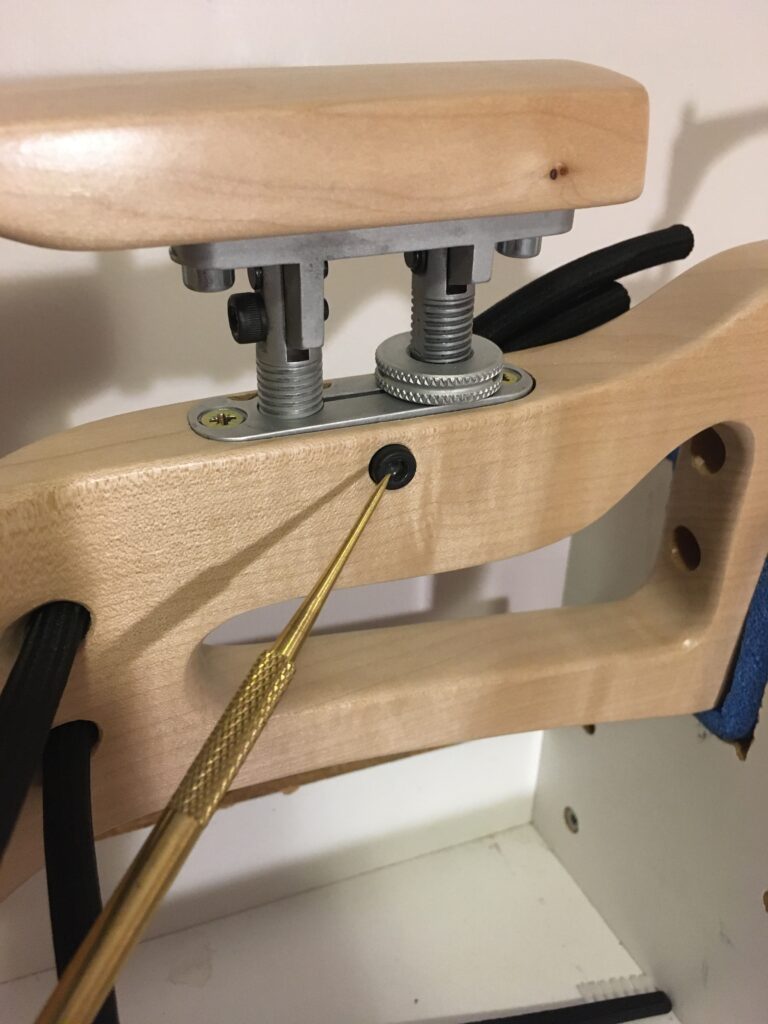
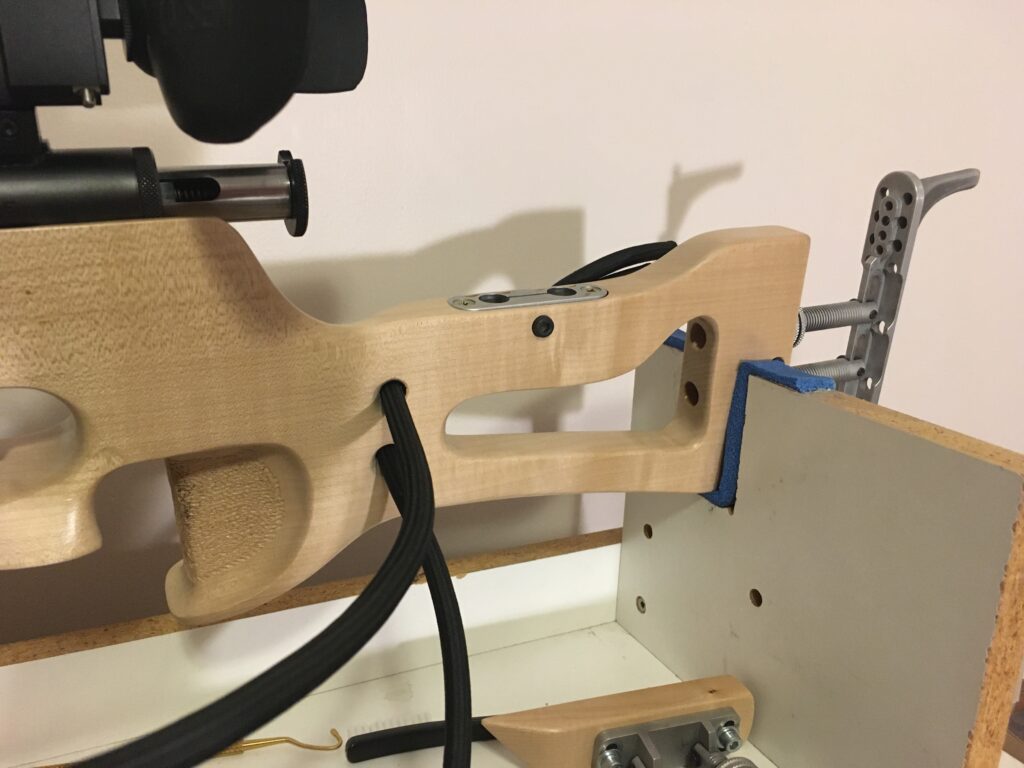
- Remove the action from the stock by unscrewing the bedding bolts.
- This requires a 4mm Allen key, and pulling the action off of the stock.
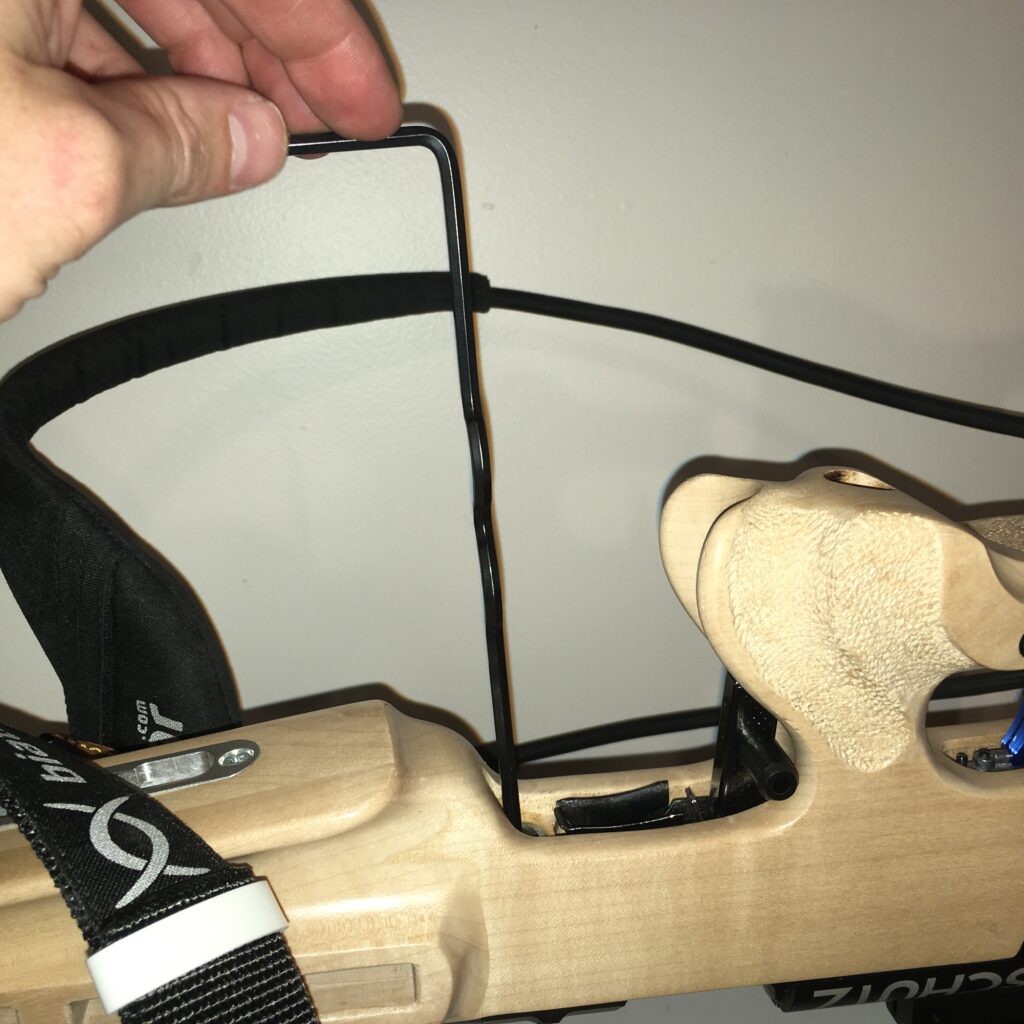
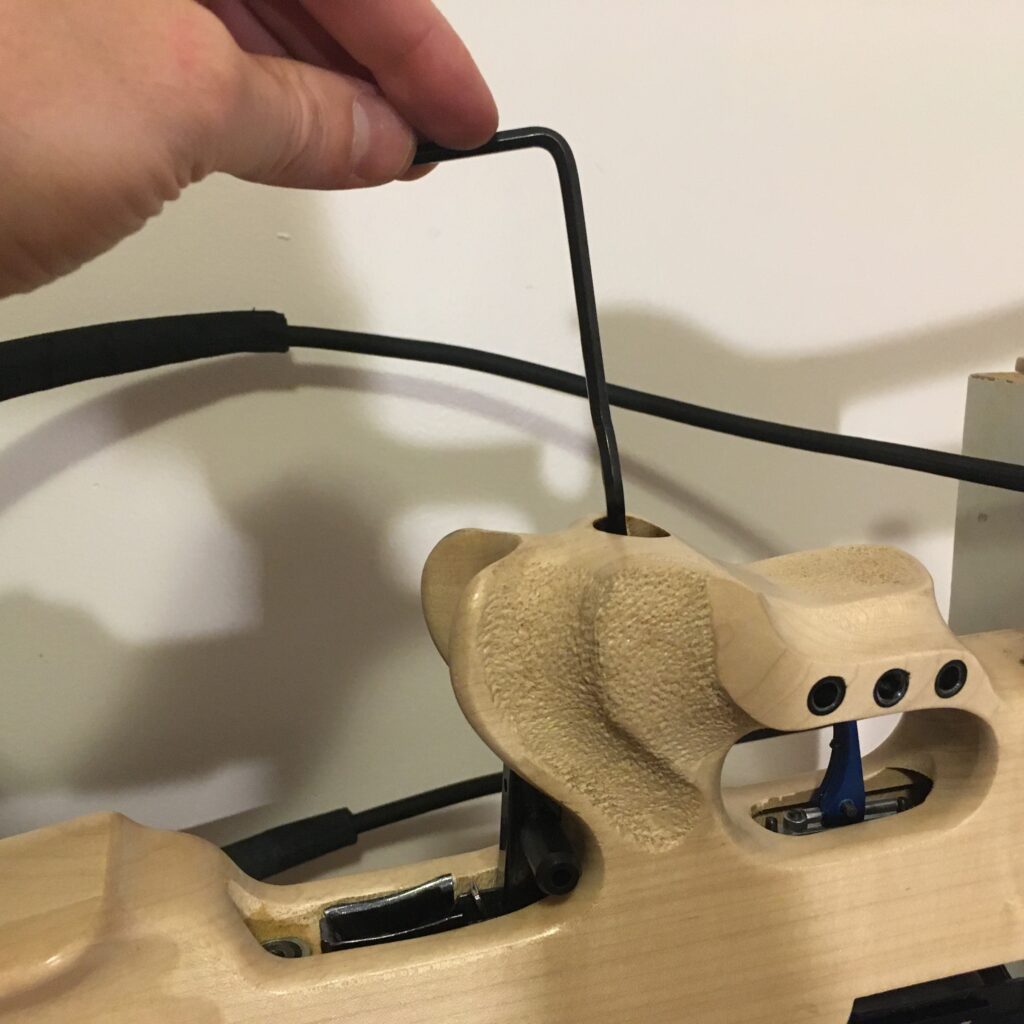
- Begin to remove bolt. First, pull the bolt back and rotate the thumb rest until the slot aligns with the breech wedge.
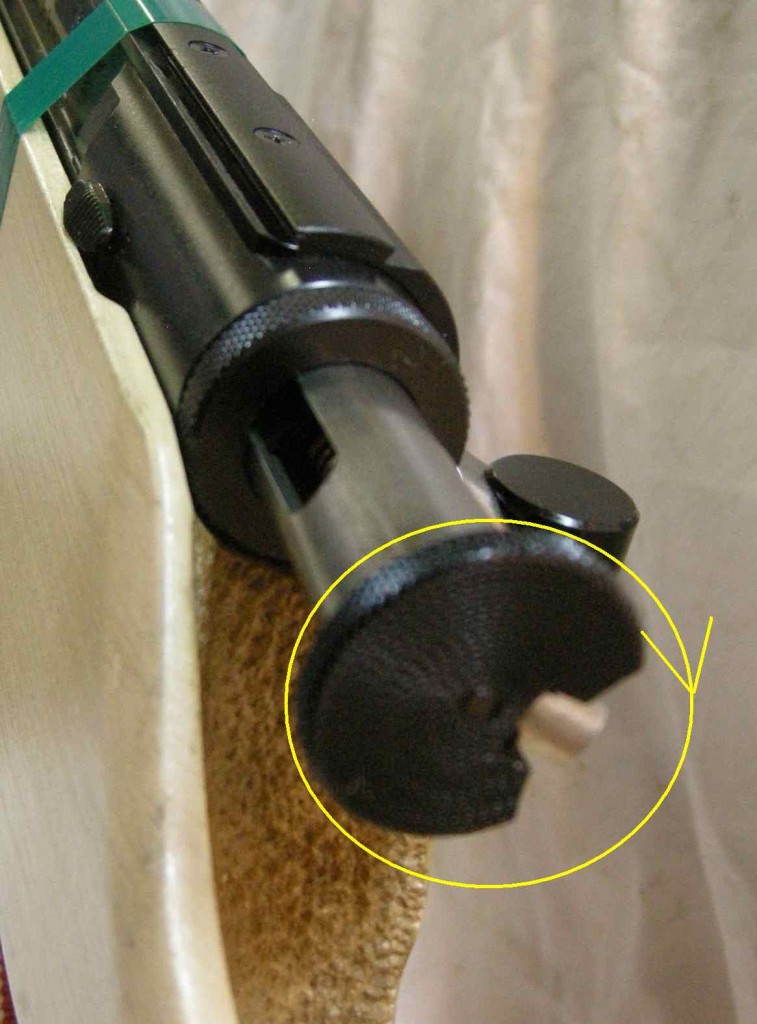
- Slide the breech wedge rearwards.
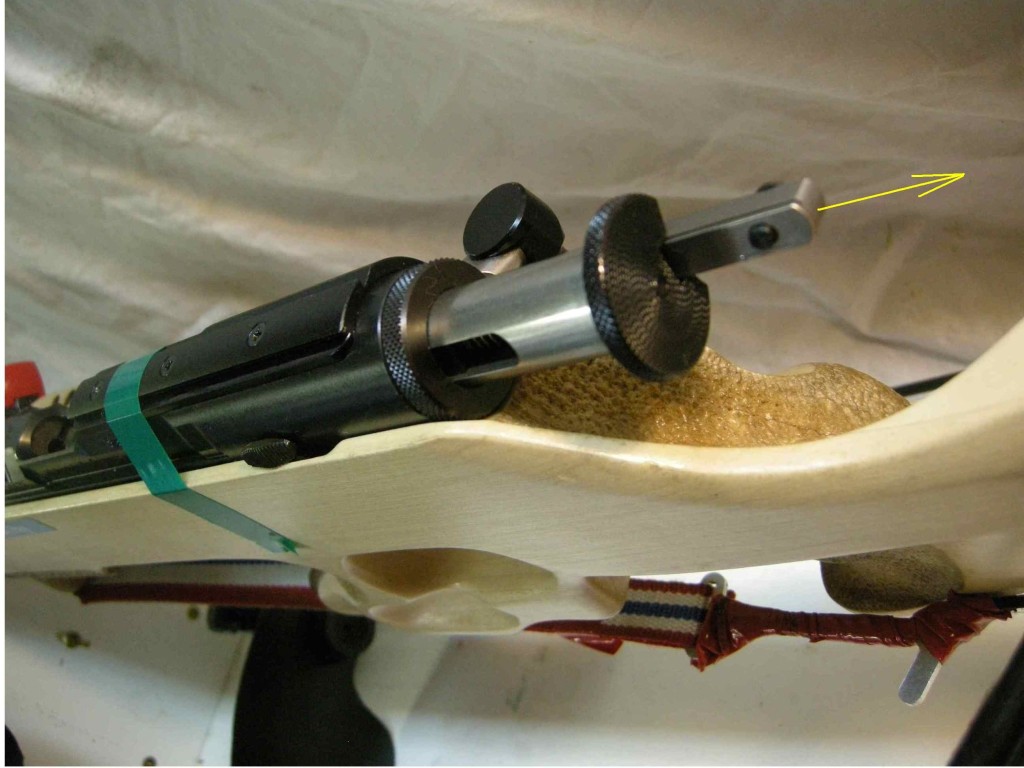
- Unscrew breech nut by turning counter clockwise.
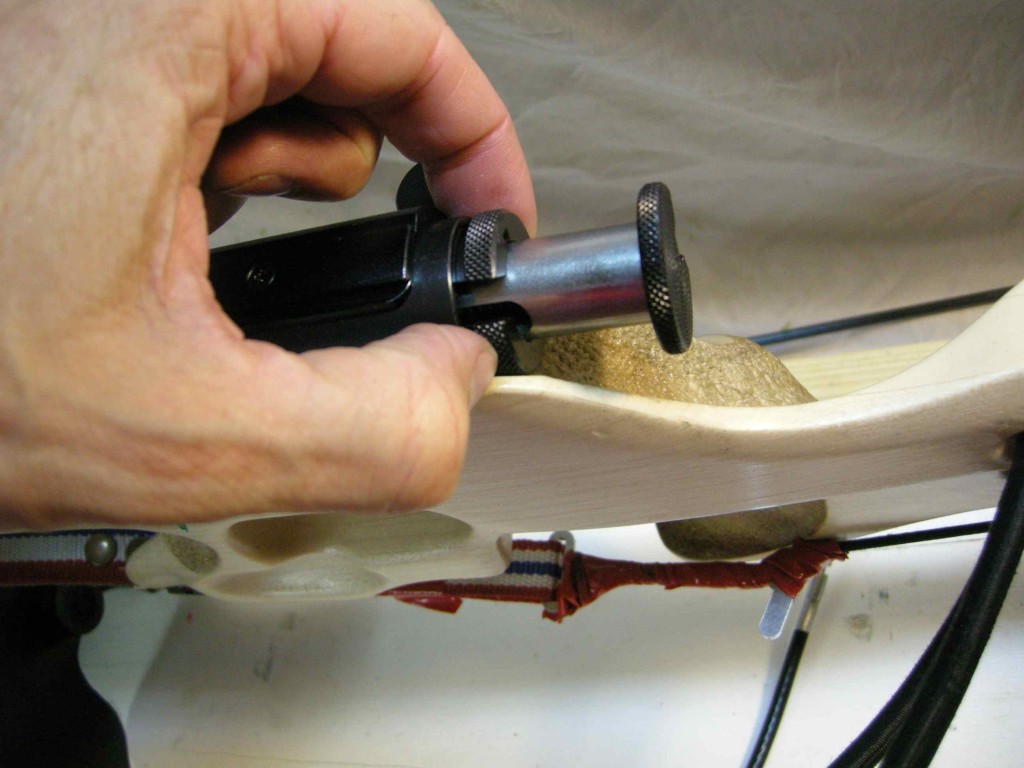
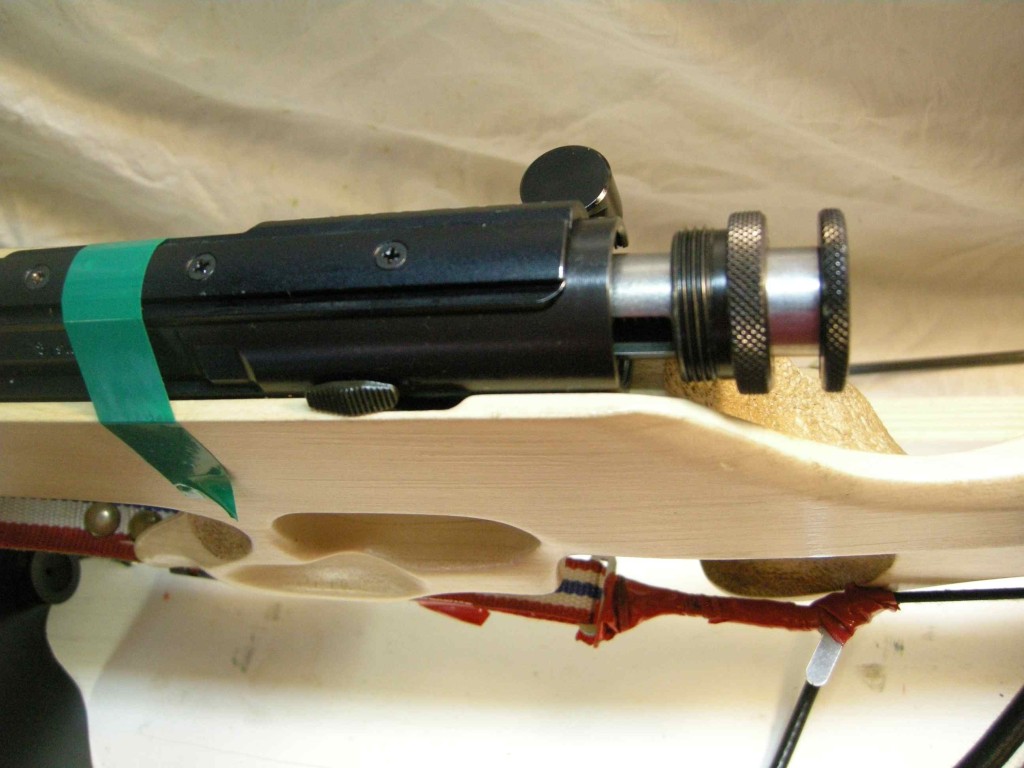
- To remove bolt, you have to simultaneously pull the bolt handle backwards while pushing against the thumb rest with one hand. This will release the ball bearings and allow you to slide the bolt out. Don’t force the ball bearings over the screw threads. Set bolt aside in clean area.
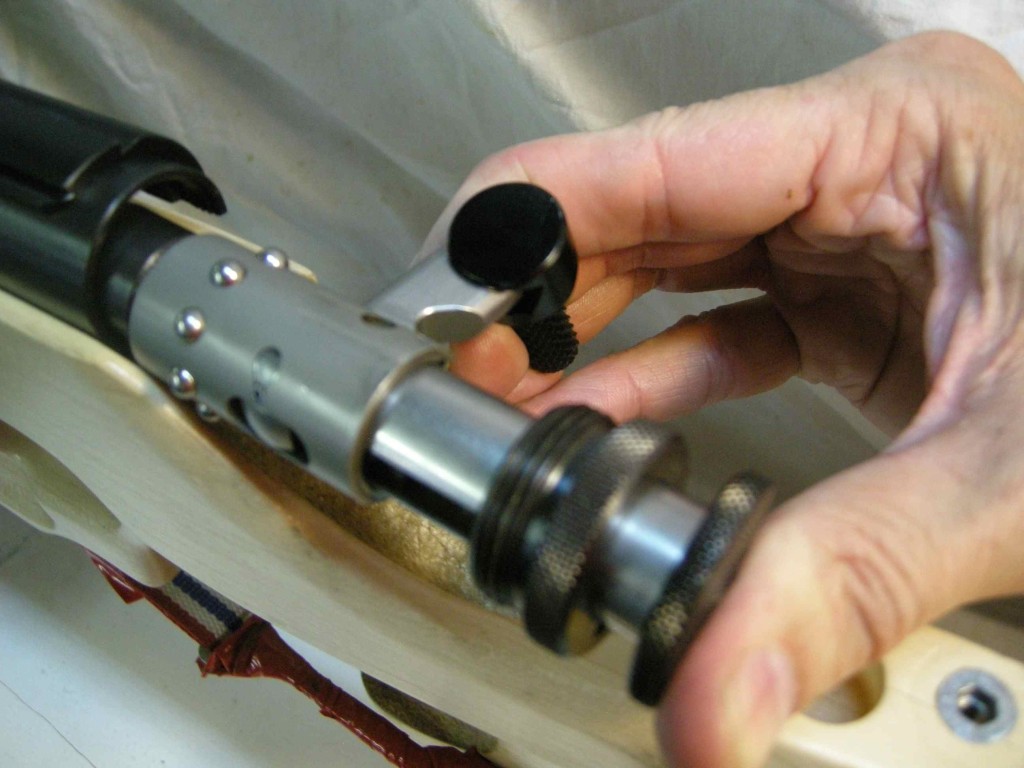
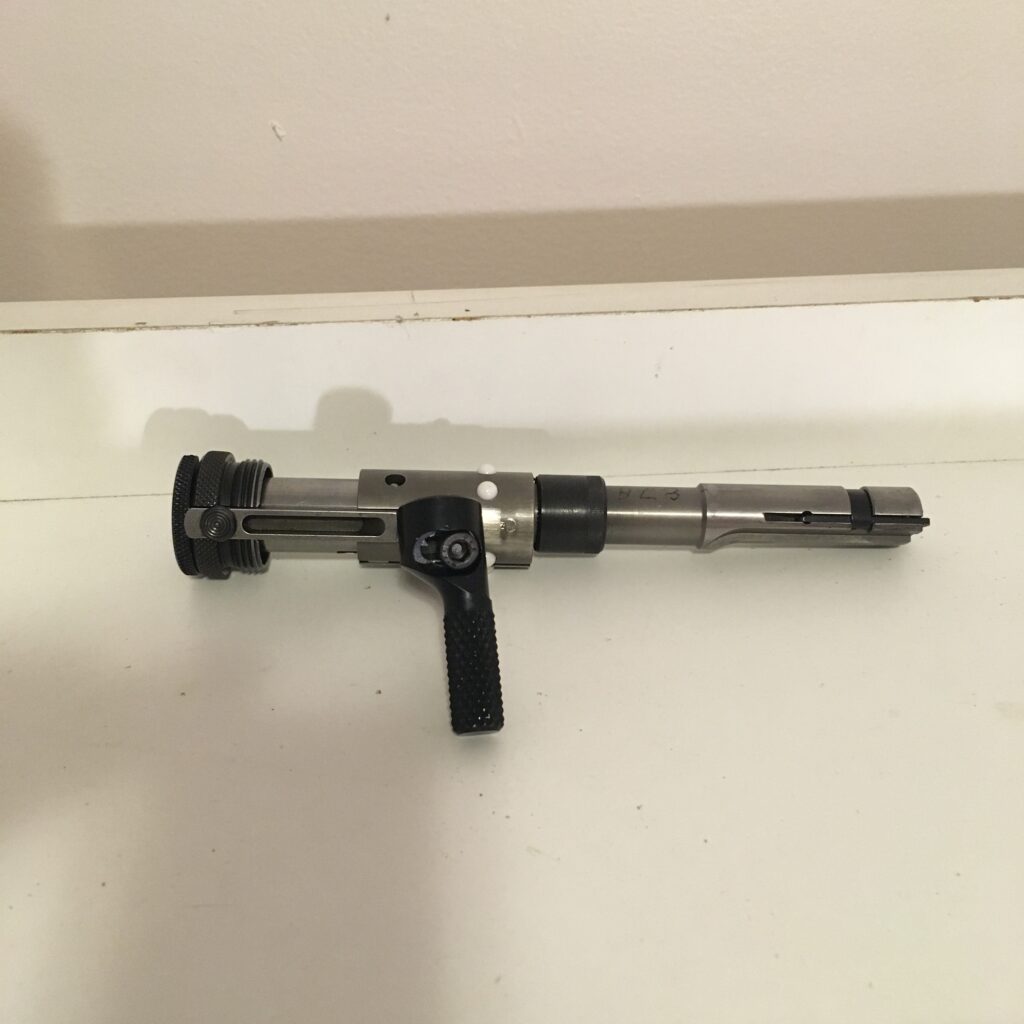
- Insert the plastic bore guide into the bore, pressing gently into position against the chamber face.
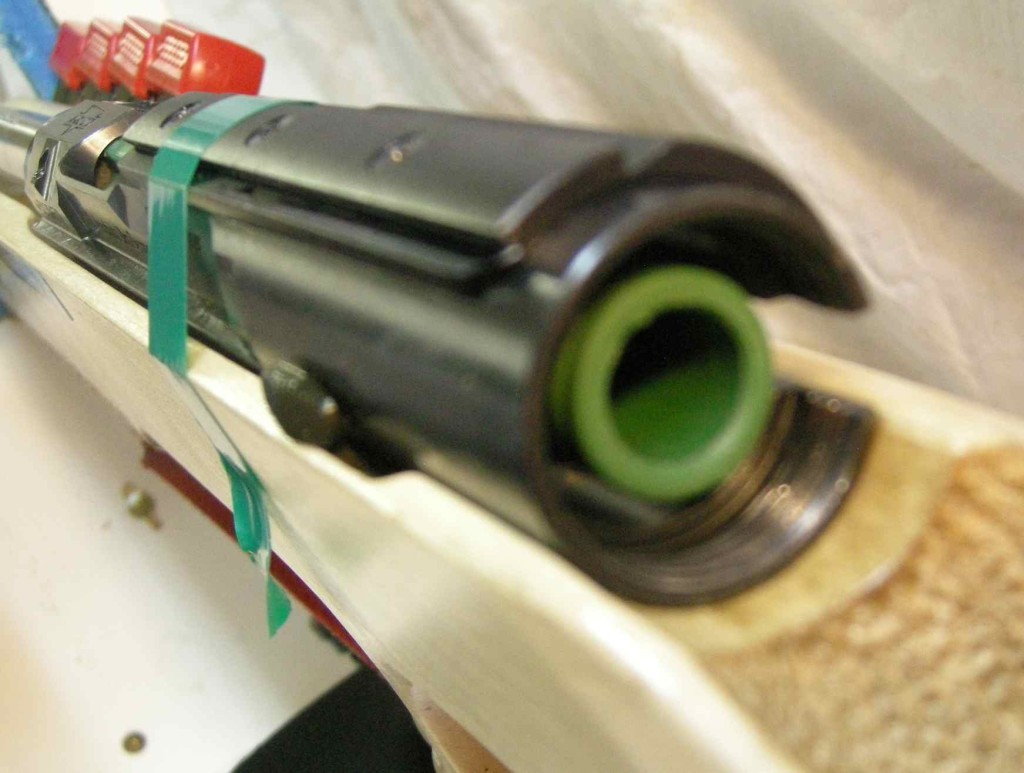
Step 2: Clean the bore and action of your rifle.
The following procedure is universal for whichever rifle system you use.
- Push a dry patch through the bore guide and bore with the jag attached to the cleaning rod. This removes any larger bits of debris from the bore.
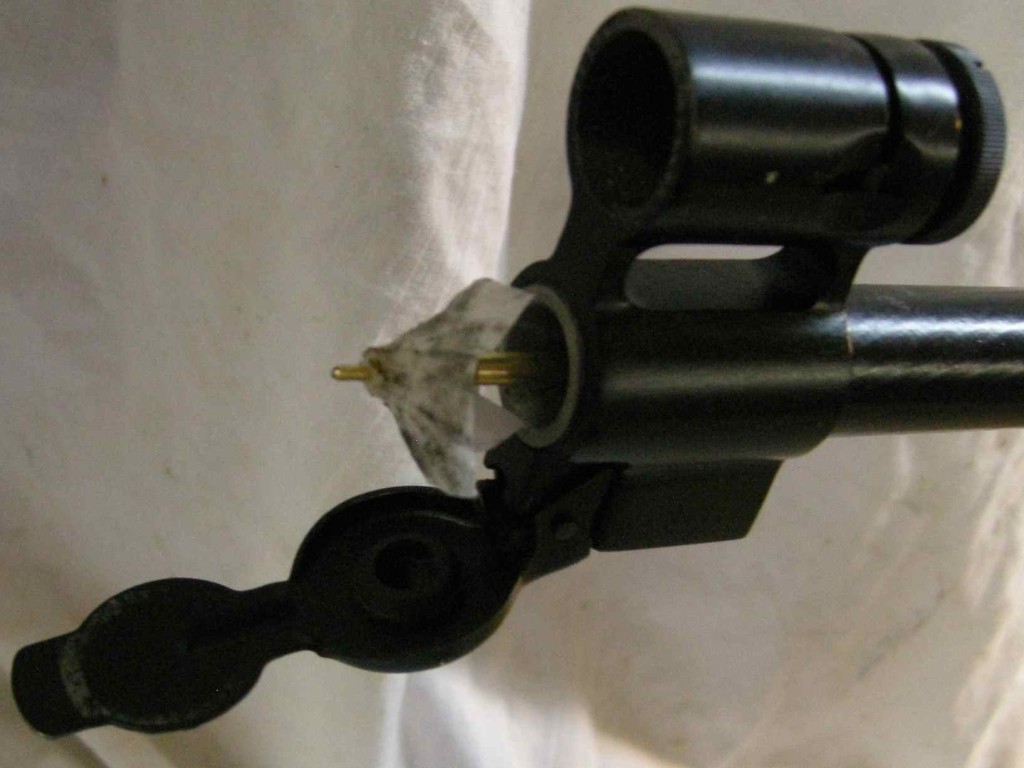
- Wet a swab with gun oil and push through the bore guide and bore with the jag attached to the cleaning rod. Always push the rod through from the breach end, never from the muzzle end.
- Remove the patch when it emerges from the muzzle and discard, then carefully pull the cleaning rod back out of the barrel. Wipe the cleaning rod along its entire length with a clean cloth.
- Repeat 2-3 times.
- Wet the nylon brush with gun oil and push completely through the bore guide and bore from the breech end.
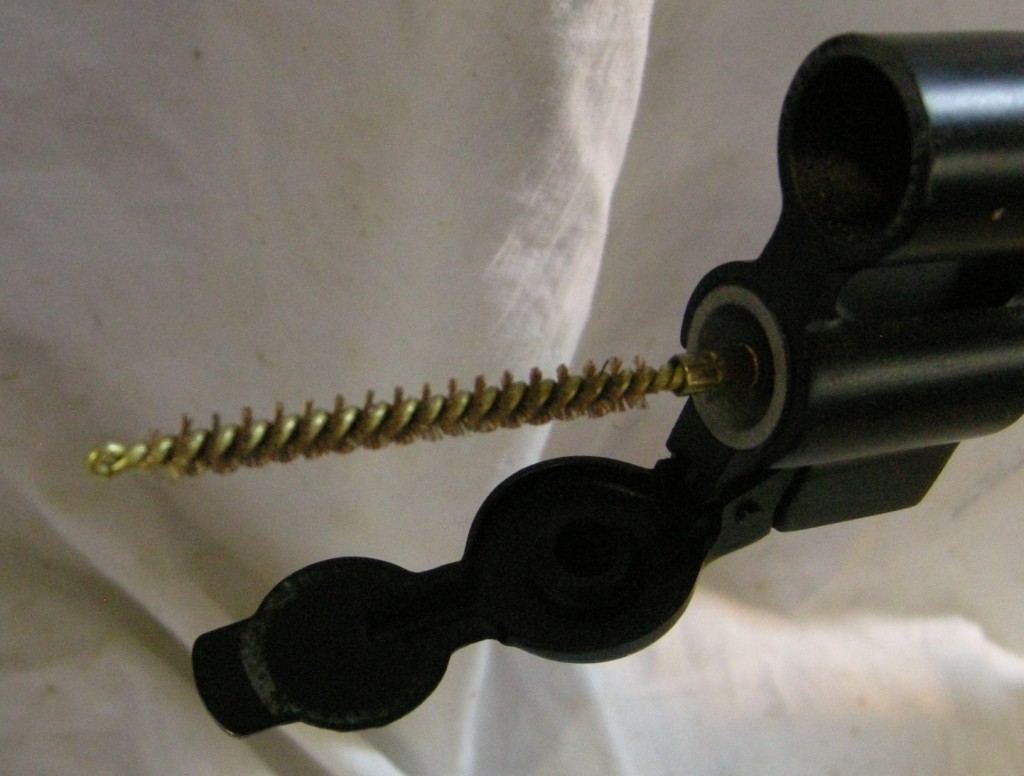
- Don’t pull the brush back through the barrel. Unscrew the brush before pulling the rod back out.
- Repeat this step about 8 to 10 times (but only apply oil for the first pass through) to more thoroughly dislodge any fouling.
- For a deeper clean when the rifle is dirtier, repeat steps 5-7 with a brass brush that is wet with gun solvent. Sometimes it helps to apply the gun solvent, let it sit for 5 min and then make 8 to 10 passes with the brass brush.Carefully clean the crown of the rifle. You can use a clean patch to do this. This is a sensitive area. Scratching this area can severely impair the accuracy of your rifle.
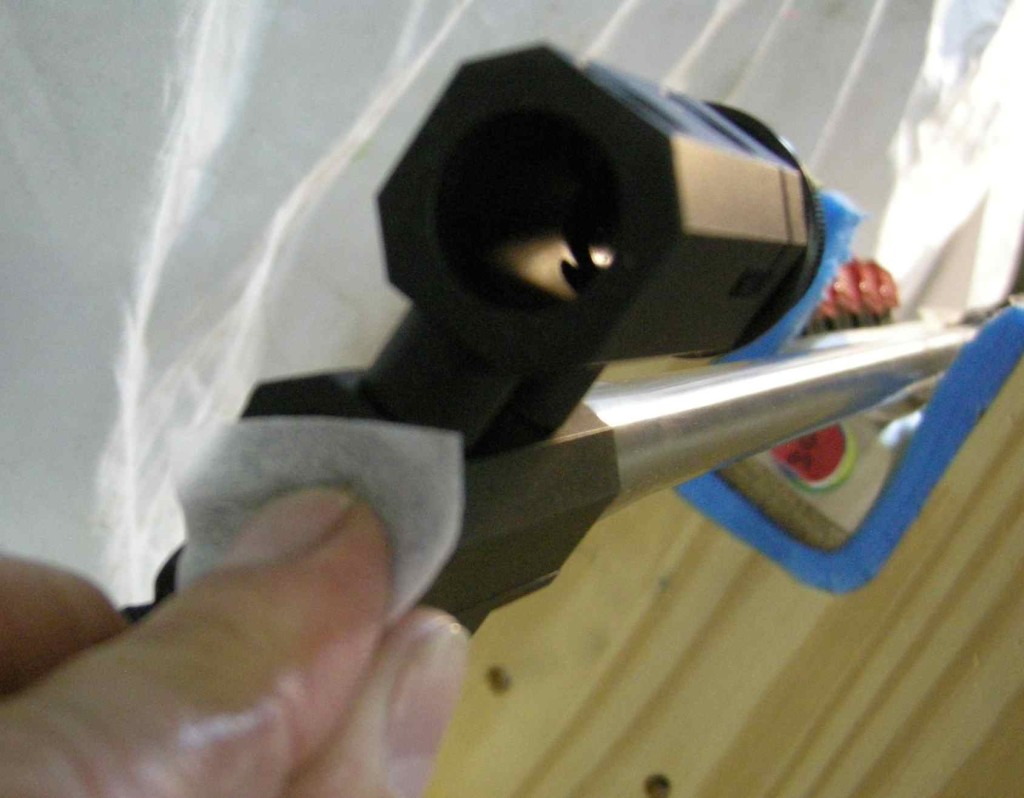
- Clean the chamber face using patches and dental picks. Pay particular attention to area where the extractors go.
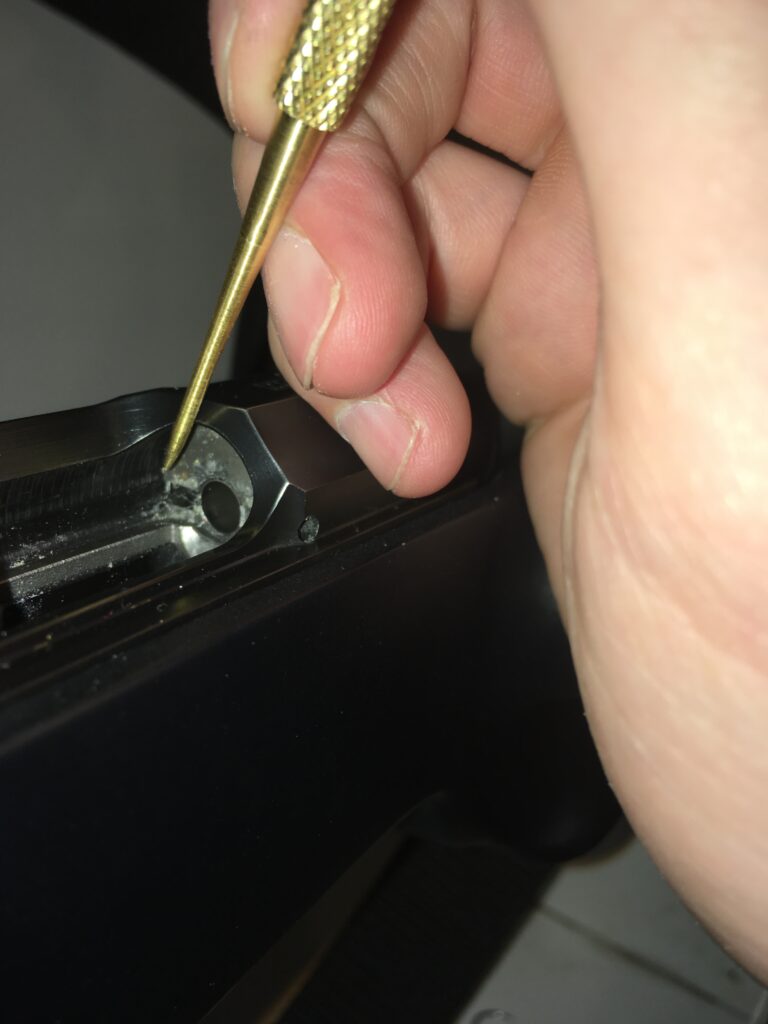
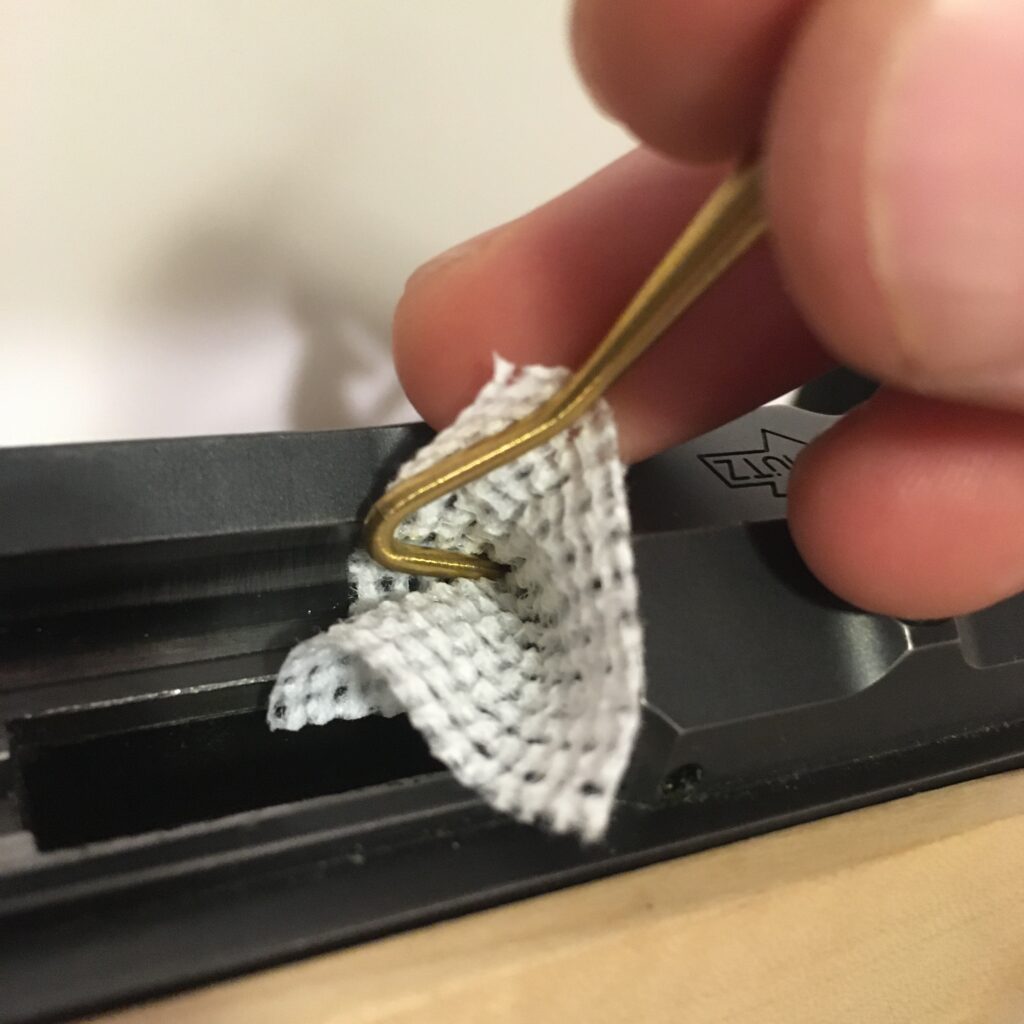
- Use a toothbrush and dental picks to clean any fouling out the magazine receiver and chamber.
- Using a jag, push a dry patch through from the breech end. Discard the patch when it emerges from the muzzle and carefully pull the rod back out of the bore guide. Repeat using new, dry patches until the patches come out clean. The goal is to remove as much oil and solvent from the surface of the bore as possible. This may take a lot of patches, so be patient and do it right. Make sure to wipe the cleaning rod with a clean cloth every few passes.
- Shooting the rifle with gun oil in the bore contributes to carbon fouling.
- Leaving gun solvent in the bore for long periods of time can potentially damage the steel.
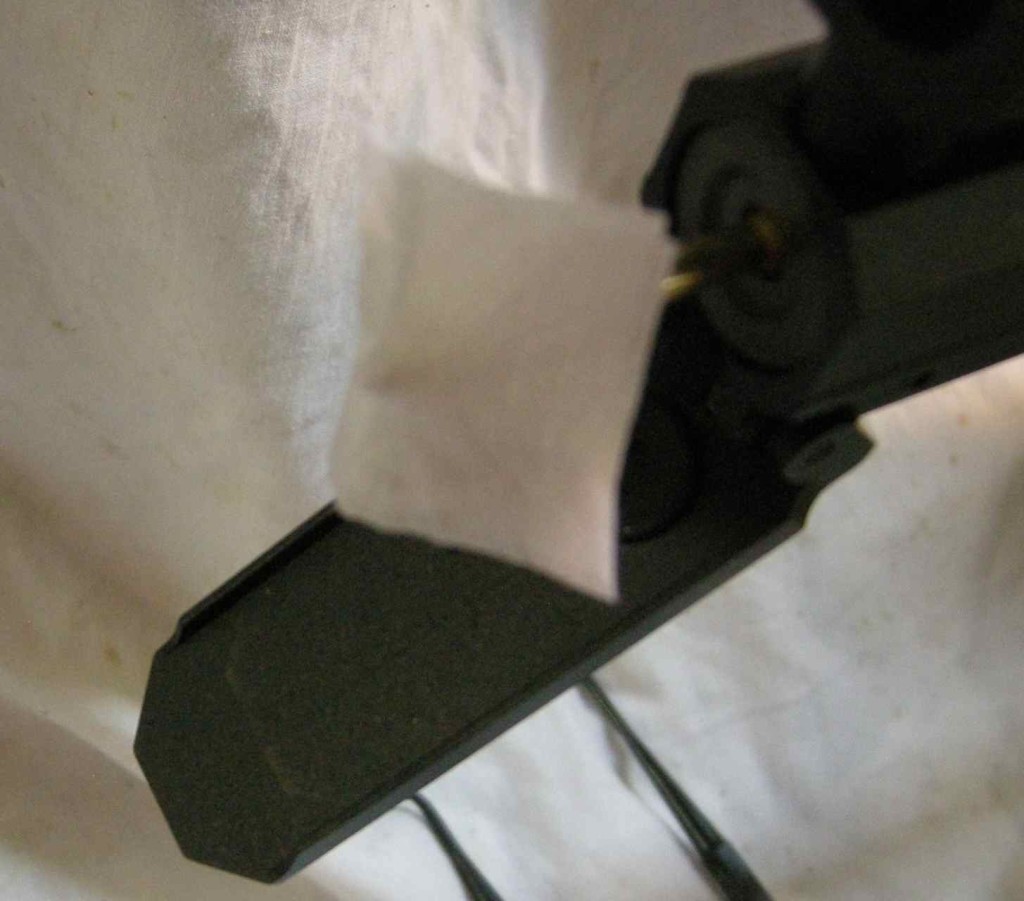
- Use compressed air to remove any debris from the trigger mechanism.
- If you are concerned about moisture where you store your rifle, you can run another patch with some oil to protect the bore, but you must remember to run clean patches through the rifle again prior to use.
Step 3: Clean the bolt of your rifle.
- Scrub the bolt face with gun oil and a toothbrush. You can use gun solvent if the bolt is particularly dirty.
- Clean the extractor pins using a toothbrush, dental picks and dry patches. Any fouling left under the extractor pins can impair the ejection of used casings.
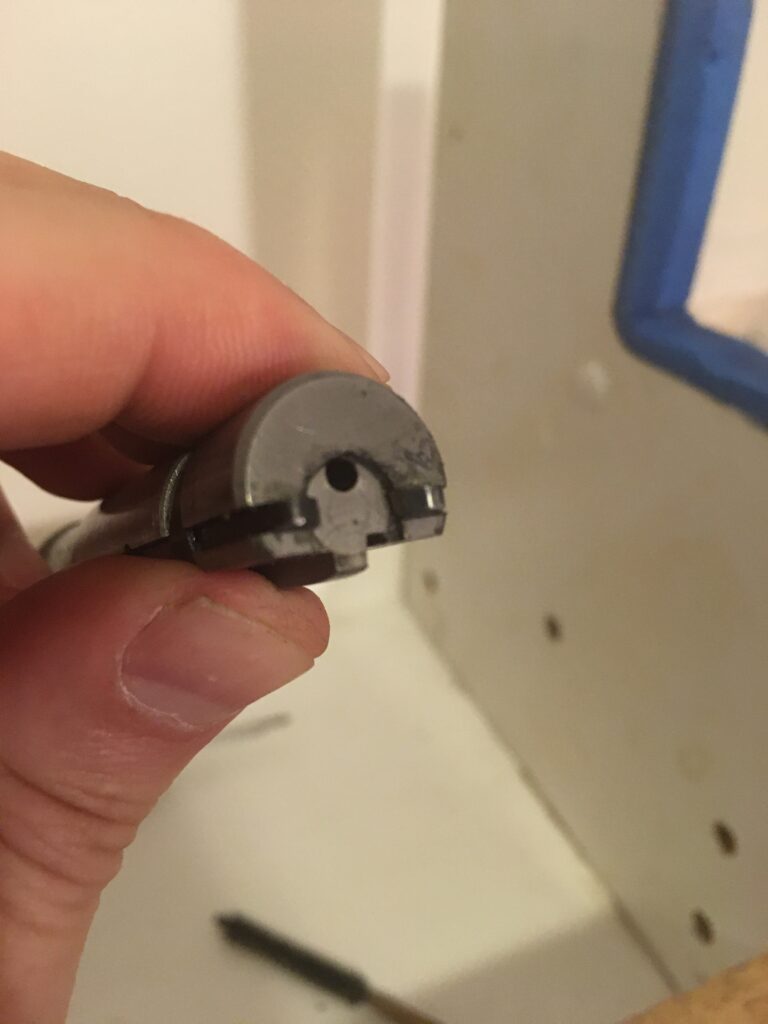
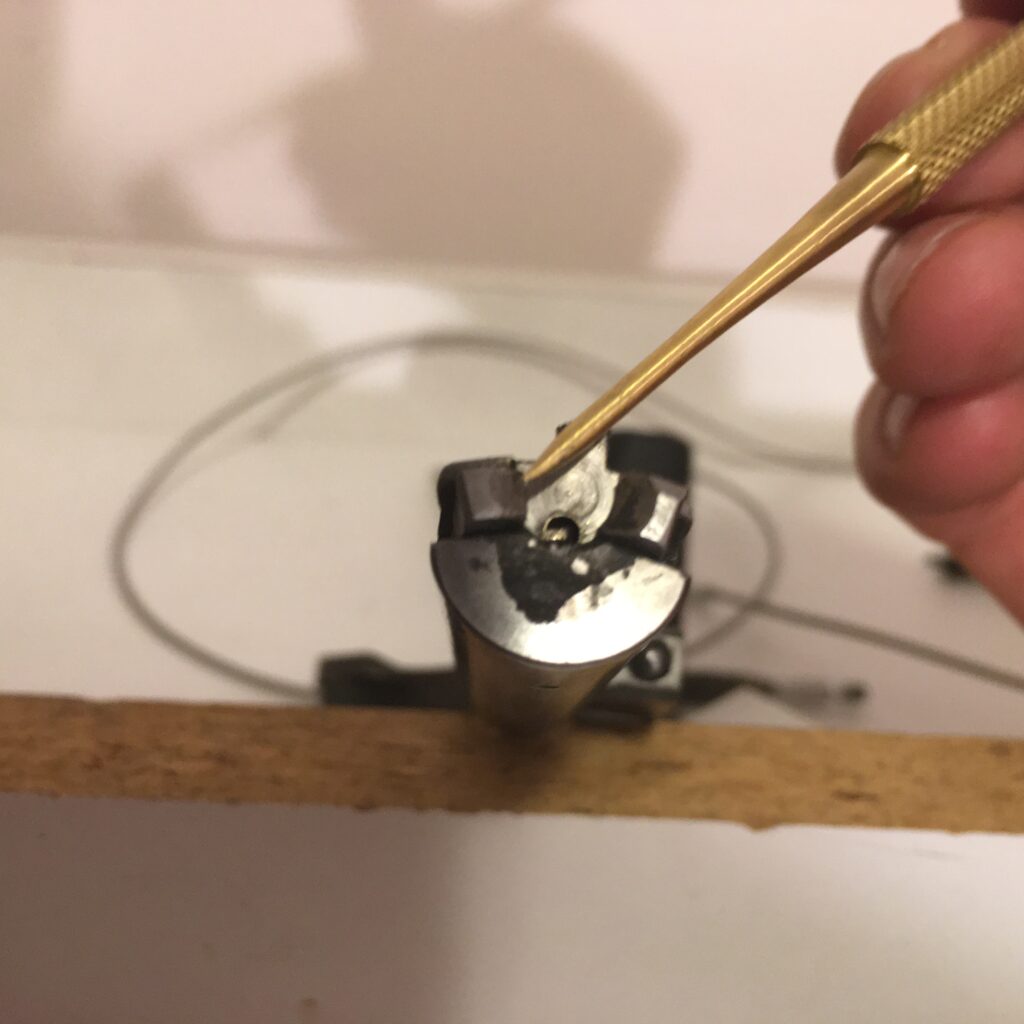
- Wipe the bolt clean of solvents and debris, then apply a light coat of oil. Wipe excess oil after this step to remove excess oil.
- Anschutz Fortner bolts: Periodically disassemble the bolt and clean the interior.
- Unscrew the black connecting nut while keeping both the front and rear elements of the bolt from turning.
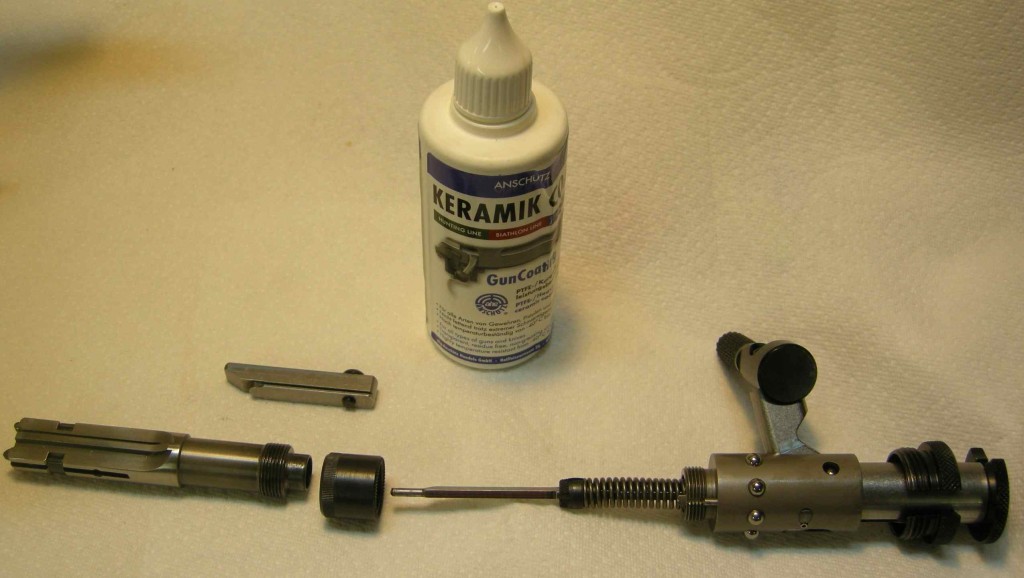
- Inspect the firing pin for damage.
- Install the nylon brush onto your cleaning rod (for length), wrap a patch on the brush and wet with gun solvent. Then insert the brush into the bolt body. Rotate to clean the interior surface. Do not push too hard to avoid the patch becoming stuck in the bolt body. Repeat with a dry patch to remove any remaining solvent.
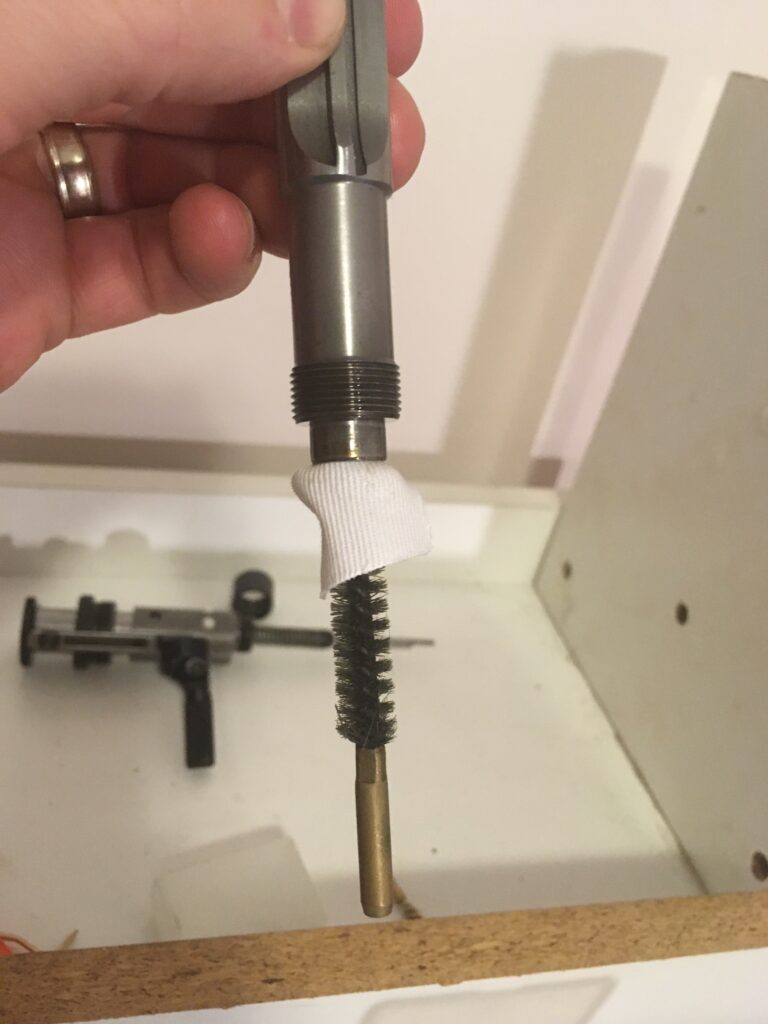
- Use a dental pick to remove any fouling from the firing pin hole.
- Coat the outer cylindrical surfaces with a light layer of oil.Coat the ball bearings, rotation points and spring surface with a light layer of oil.
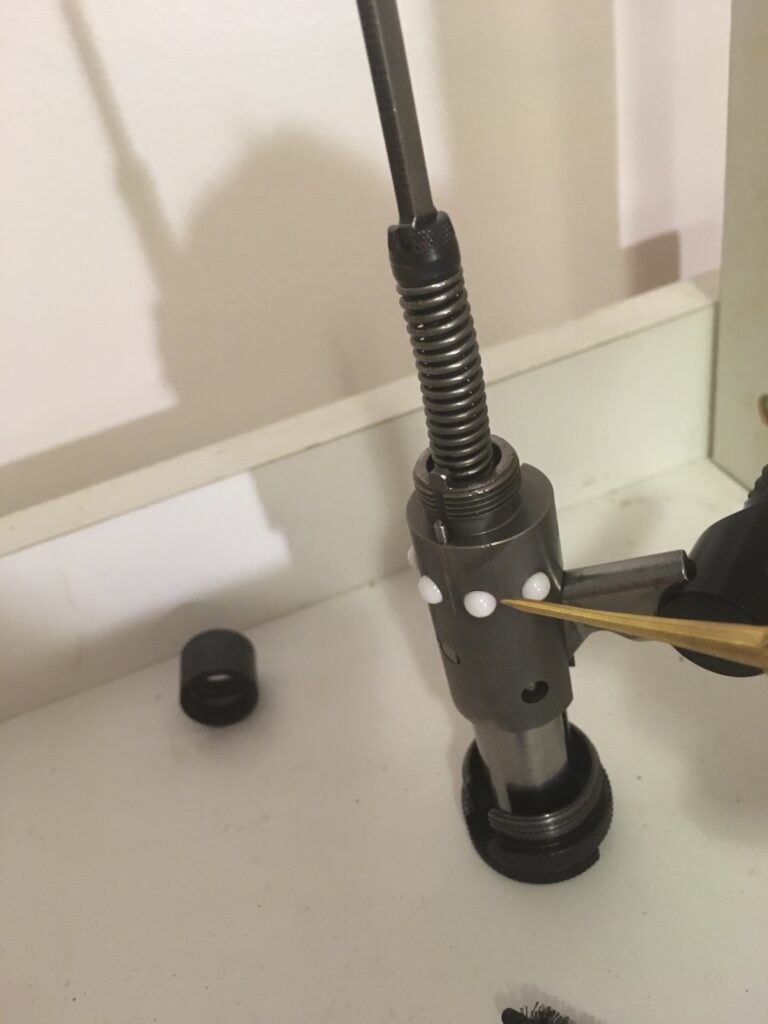
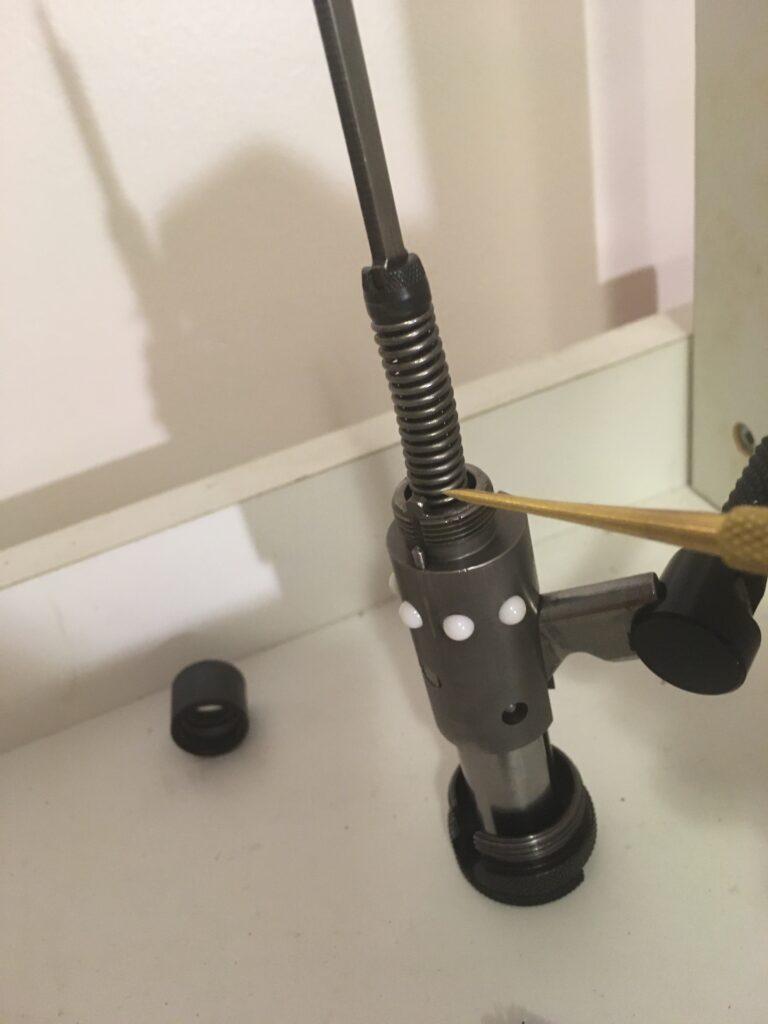
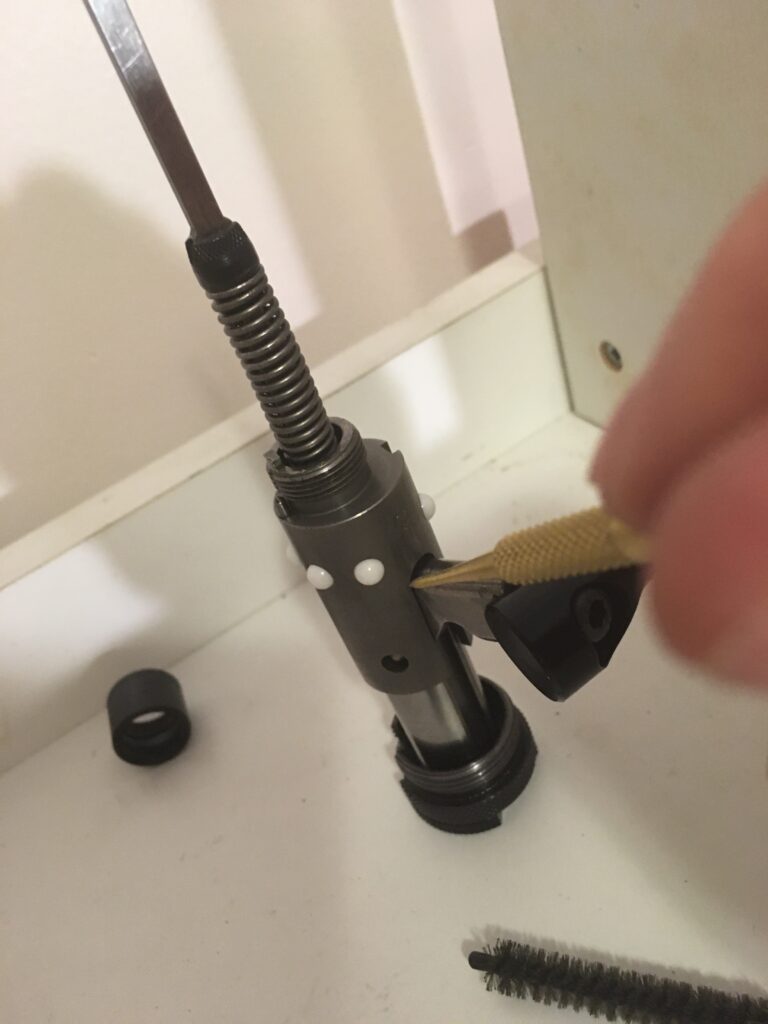
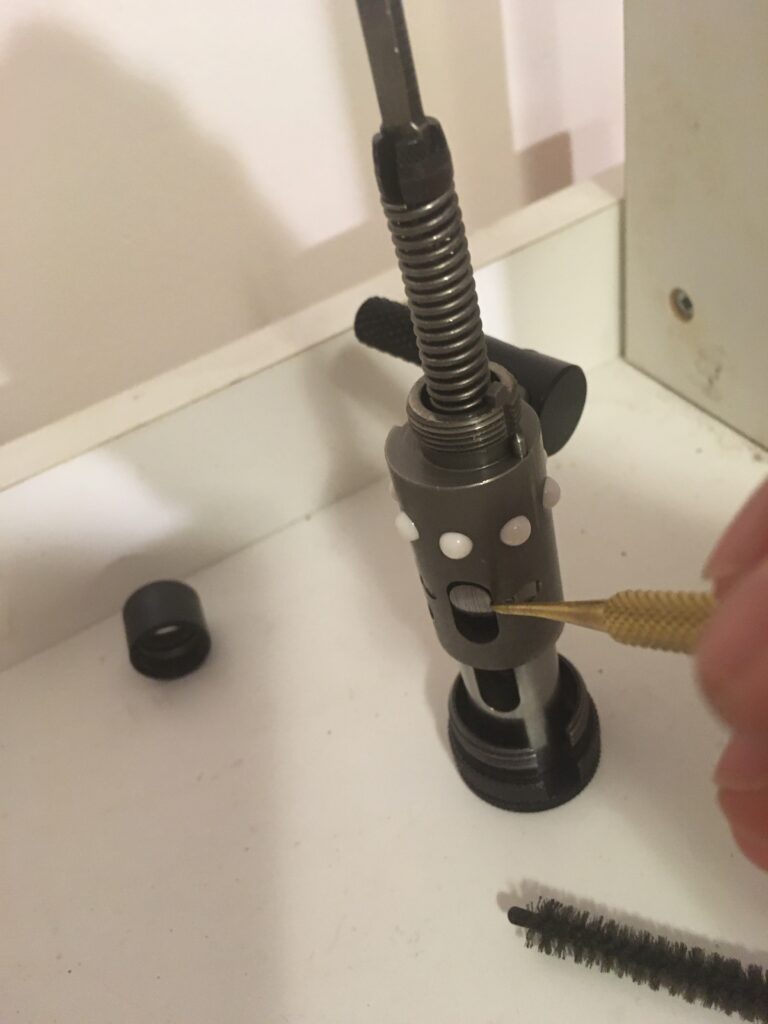
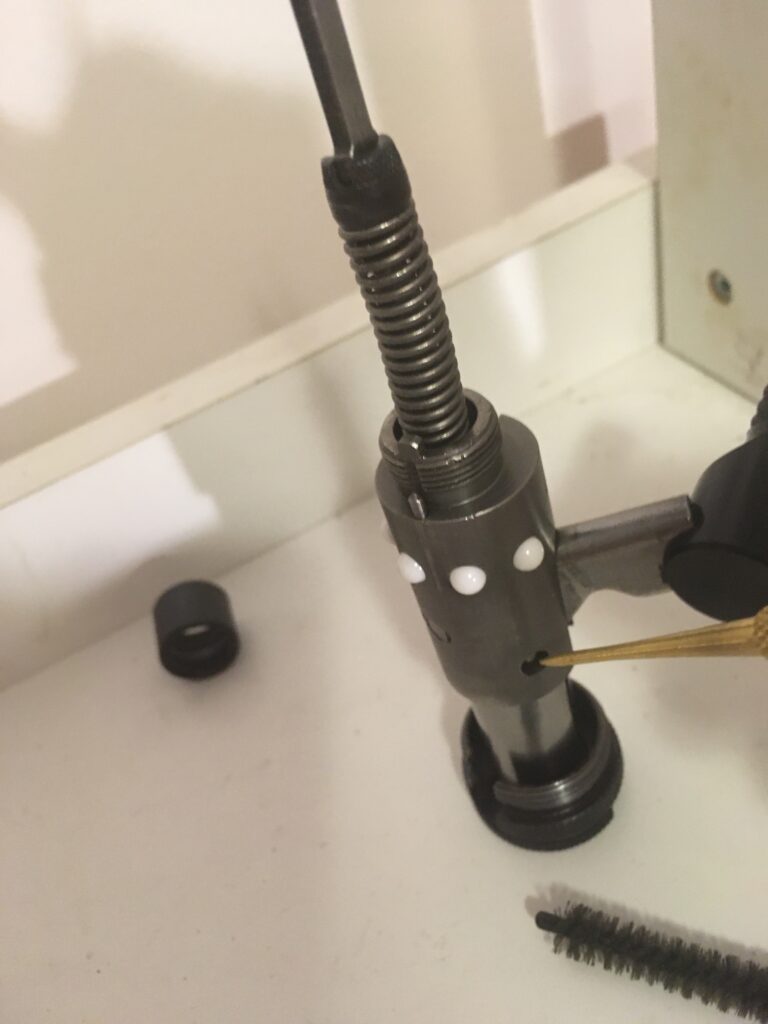
- Re-assemble the bolt.
- Wipe off excess oil. A thin layer is all that’s needed to protect and lubricate the bolt.
- Izhmash bolts: These bolts do not require any disassembly.
- Spray oil into the firing pin hole. Wipe away any excess.
- Coat the cylindrical surface of the bolt body with a light layer of oil.
- Apply oil to the hinge points, release tab and locking spring on the side of the bolt.
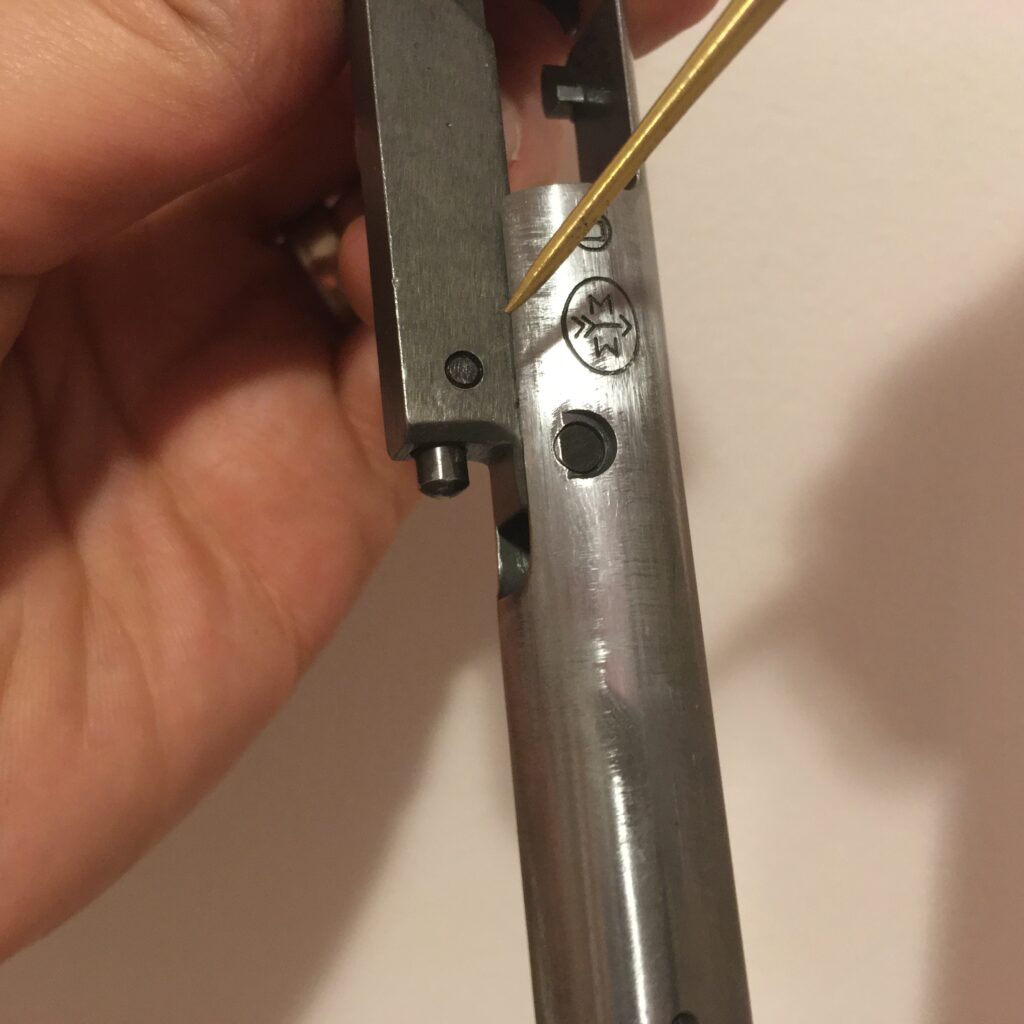
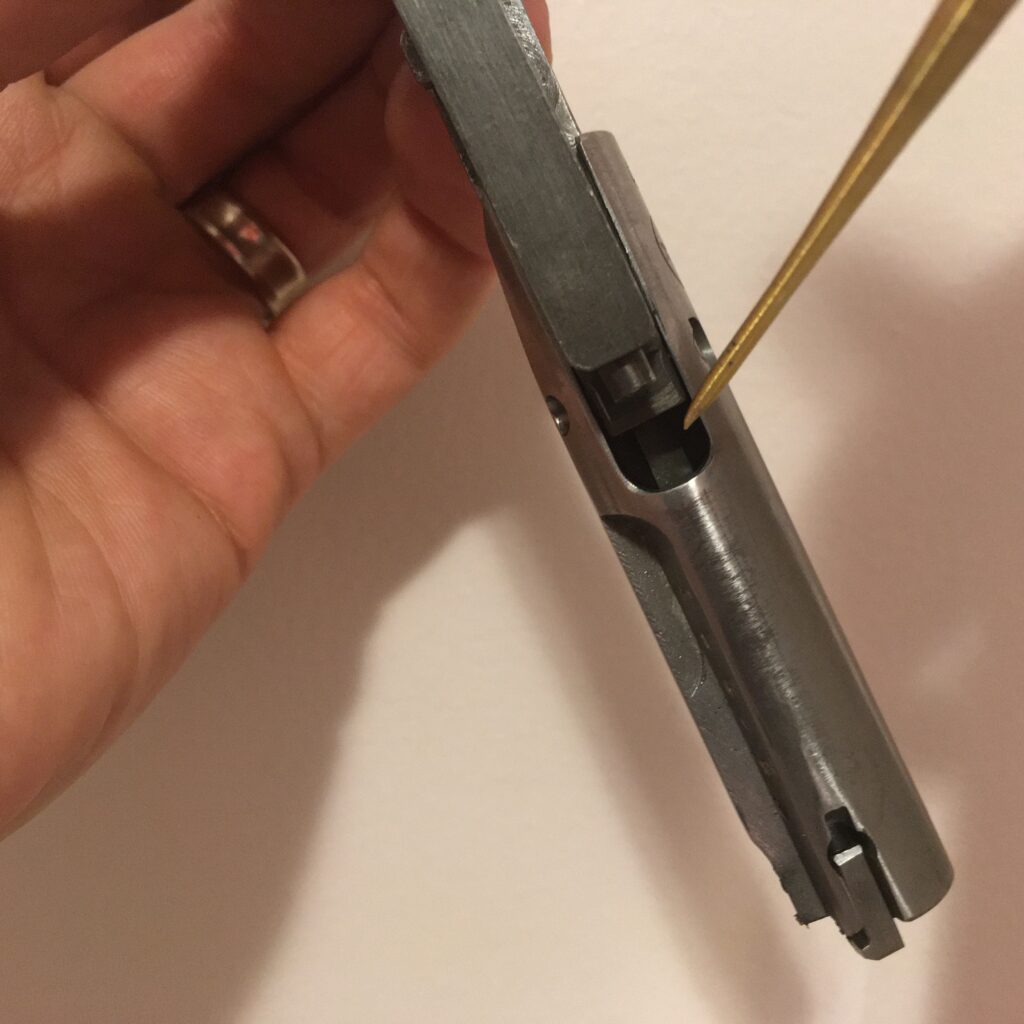
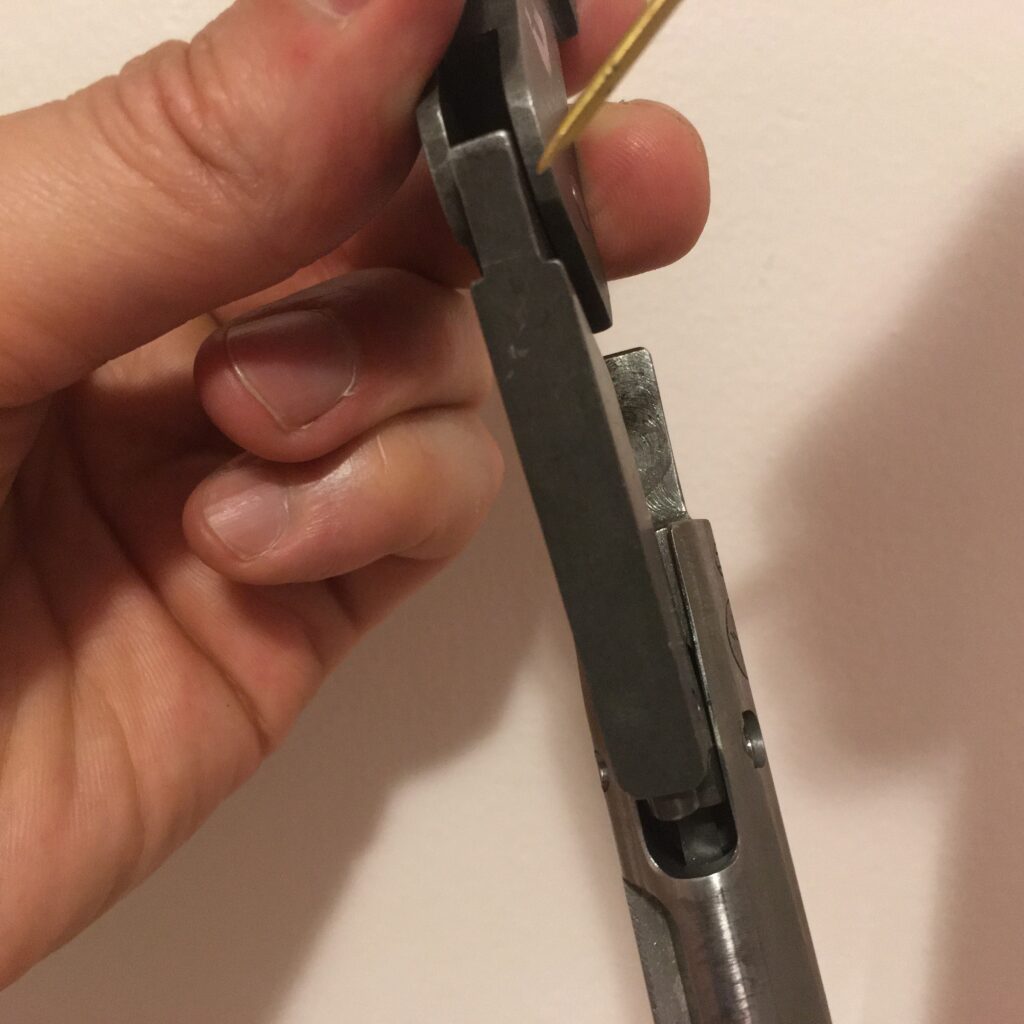
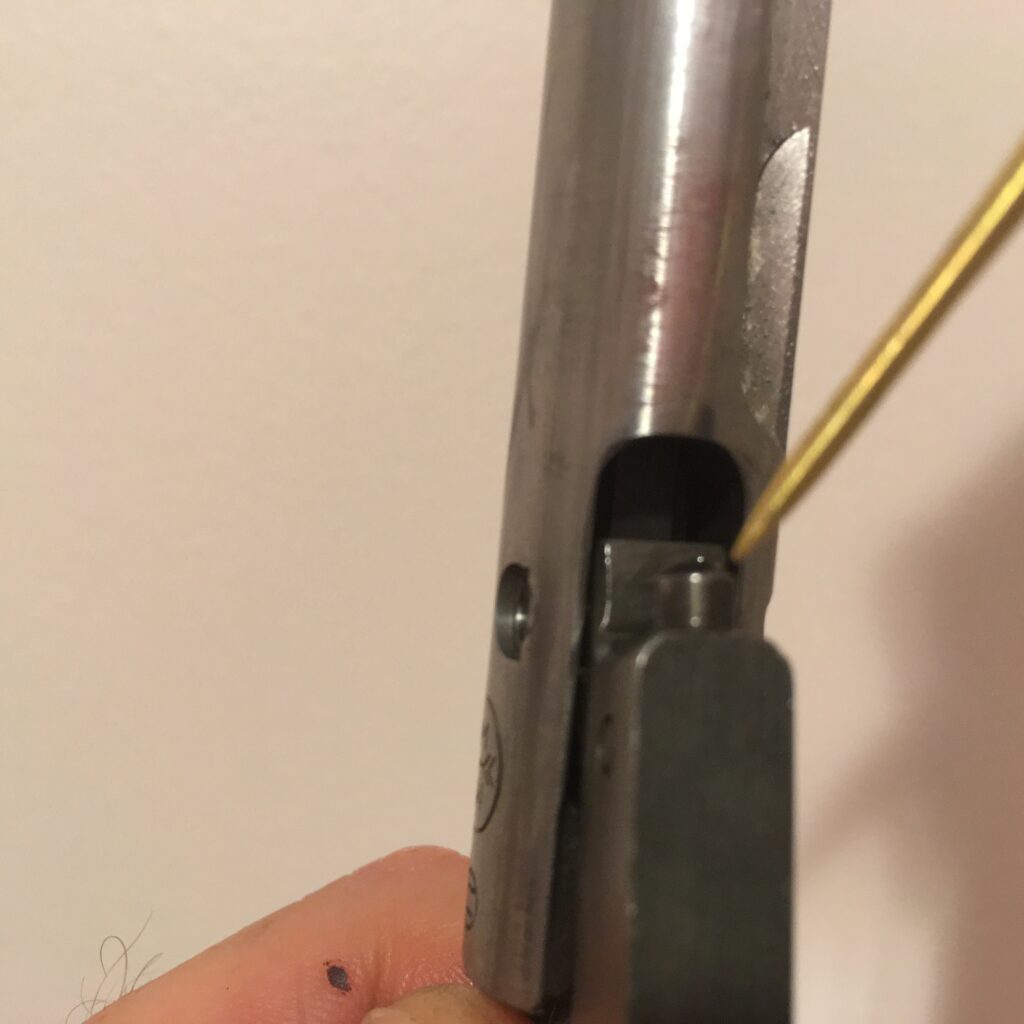
- Wipe away any excess oil.
Step 4: Clean your magazines.
Clean your magazines from time to time to reduce the chances of malfunction or poor feeding.
Anschutz magazines. Do not use any oil or solvents on the plastic surfaces of the magazine. This can breakdown the plastic causing it to fail.
- Use a dental pick to depress the spring on the side of the magazine. This should release the magazine floor plate and allow it to slide off towards the front.
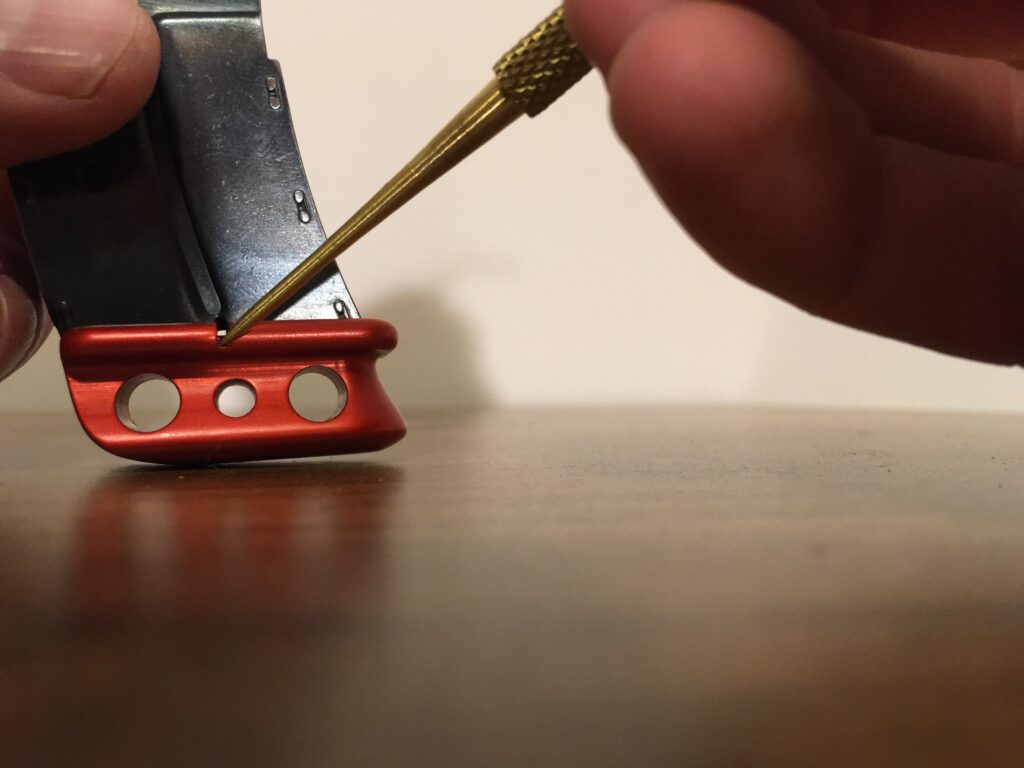
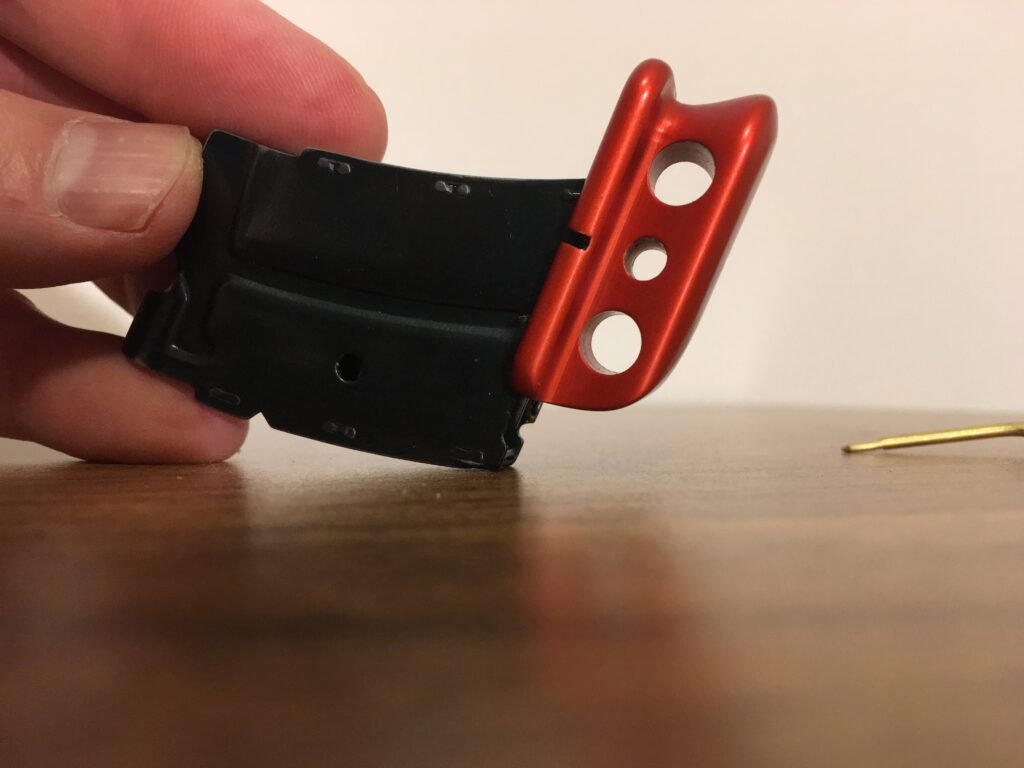
- Inspect the floor plate for damage. Common sites of damage are the rails that secure it to the magazine. Cracked base plates should be replaced.
- Remove the magazine spring and magazine follower.
- Wrap a patch around a nylon brush and wet with oil. Insert the patch and clean any fouling out from either end of the magazine.
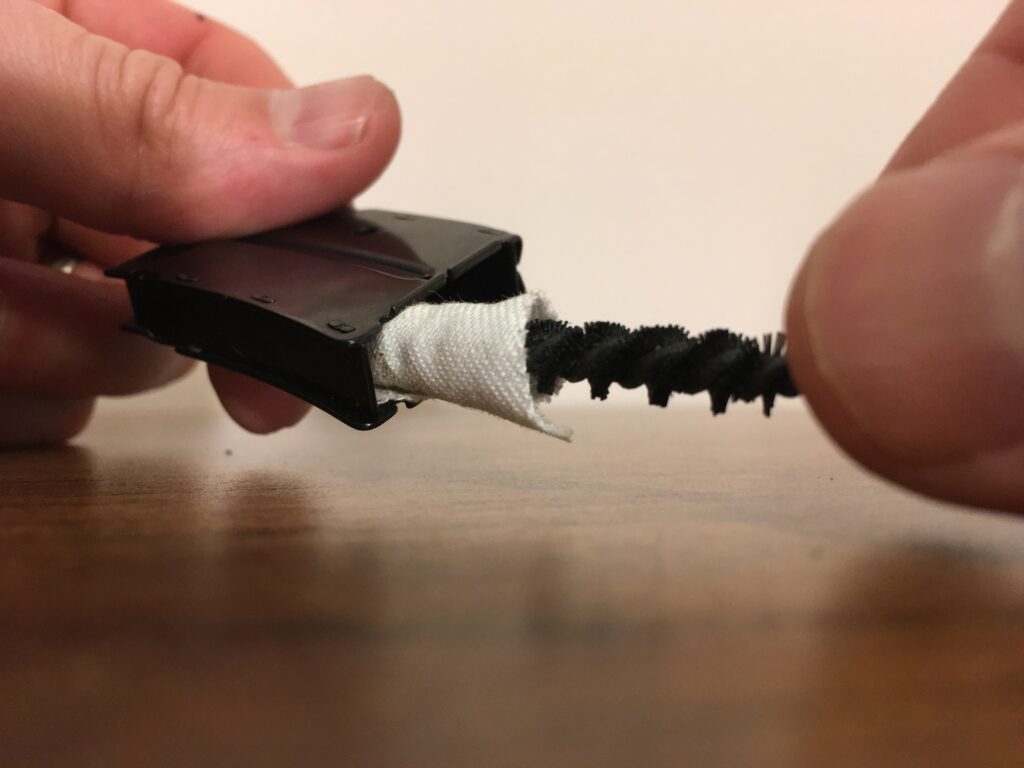
- Use a rag or paper towel to remove any excess oil.
- Use a toothbrush to remove any fouling from the exterior surface of the magazine. Pay particular attention to the forward-facing surface of the magazine.
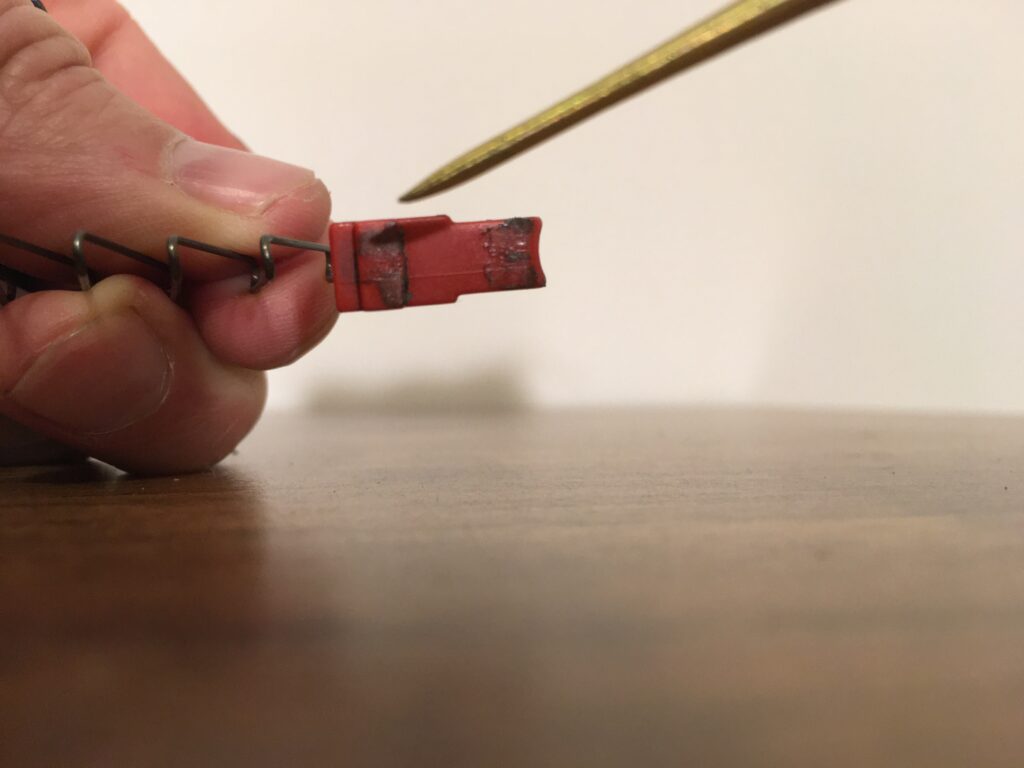
- Use a dry paper towel to remove any fouling from the magazine follower and spring.
- Reassemble the magazine follower and spring into the magazine body. The follower should be positioned with the top surface angling forward. When clean, the follower should move freely through the body.
- Lightly coat the metal surface of the magazines with oil to prevent rust.
Izhmash magazines. Do not use any oil or solvents on the plastic surfaces of the magazine. This can breakdown the plastic causing it to fail.
- Use a dental pick to depress the knob on the bottom of the magazine floor plate. This should release the magazine floor plate and allow it to slide off rearwards.
- Remove the magazine spring and magazine follower.
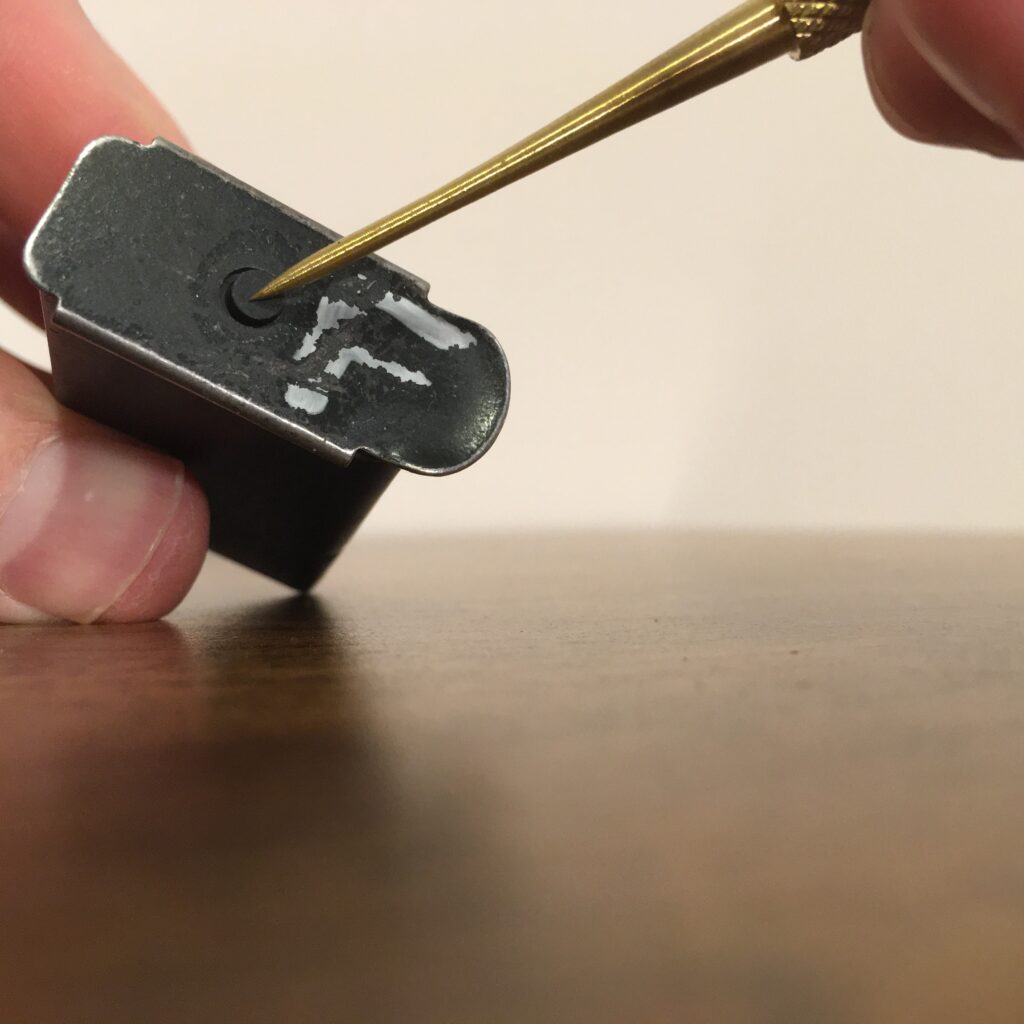
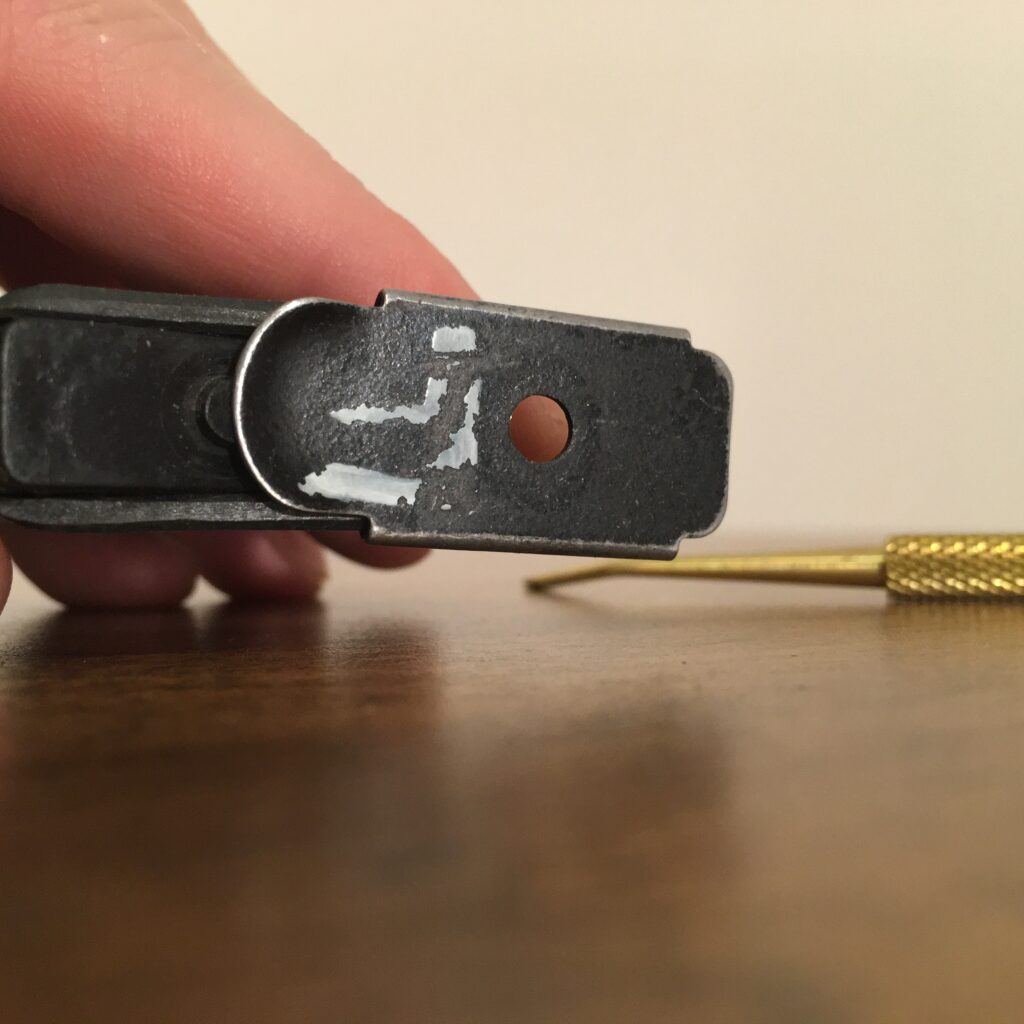
- Wrap a patch around a nylon brush. Insert the patch and clean any fouling out from either end of the magazine.
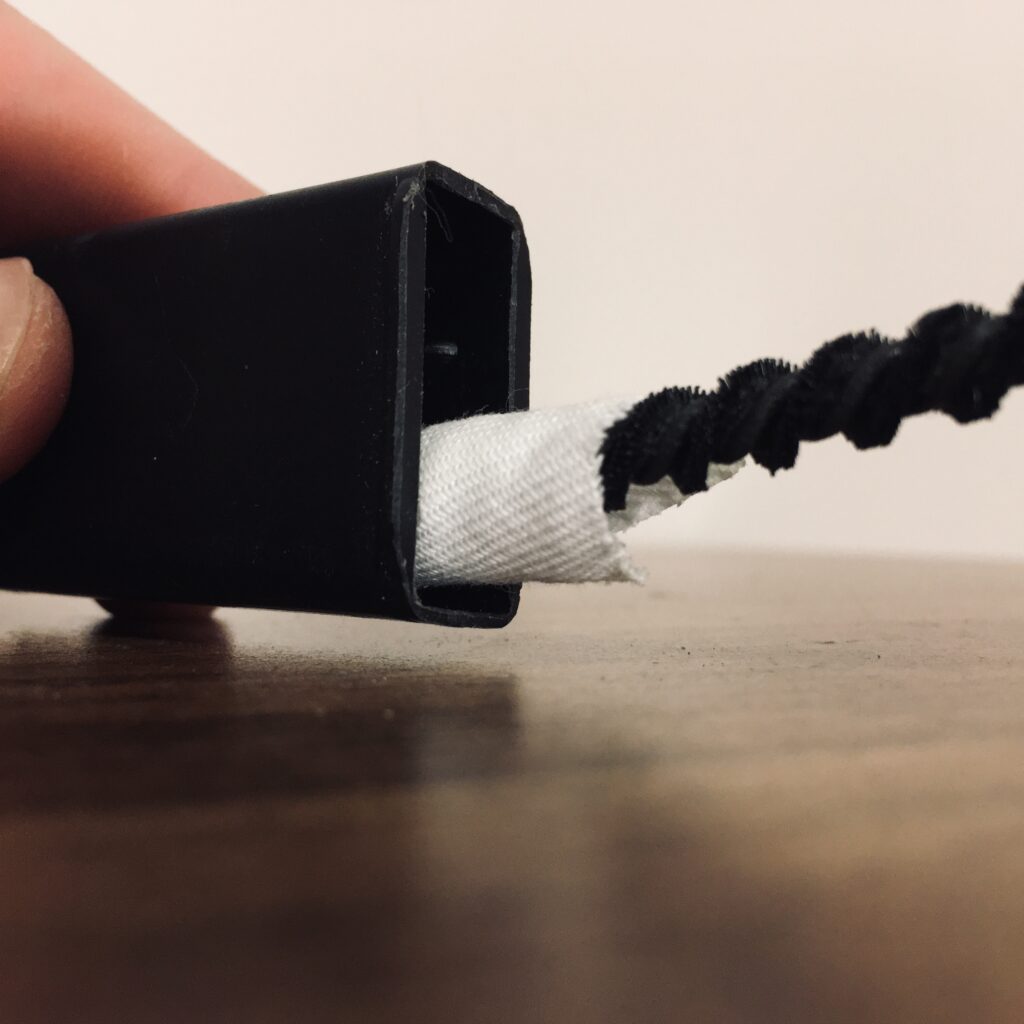
- Use a toothbrush to remove any fouling from the exterior surface of the magazine. Pay particular attention to the forward-facing surface of the magazine.
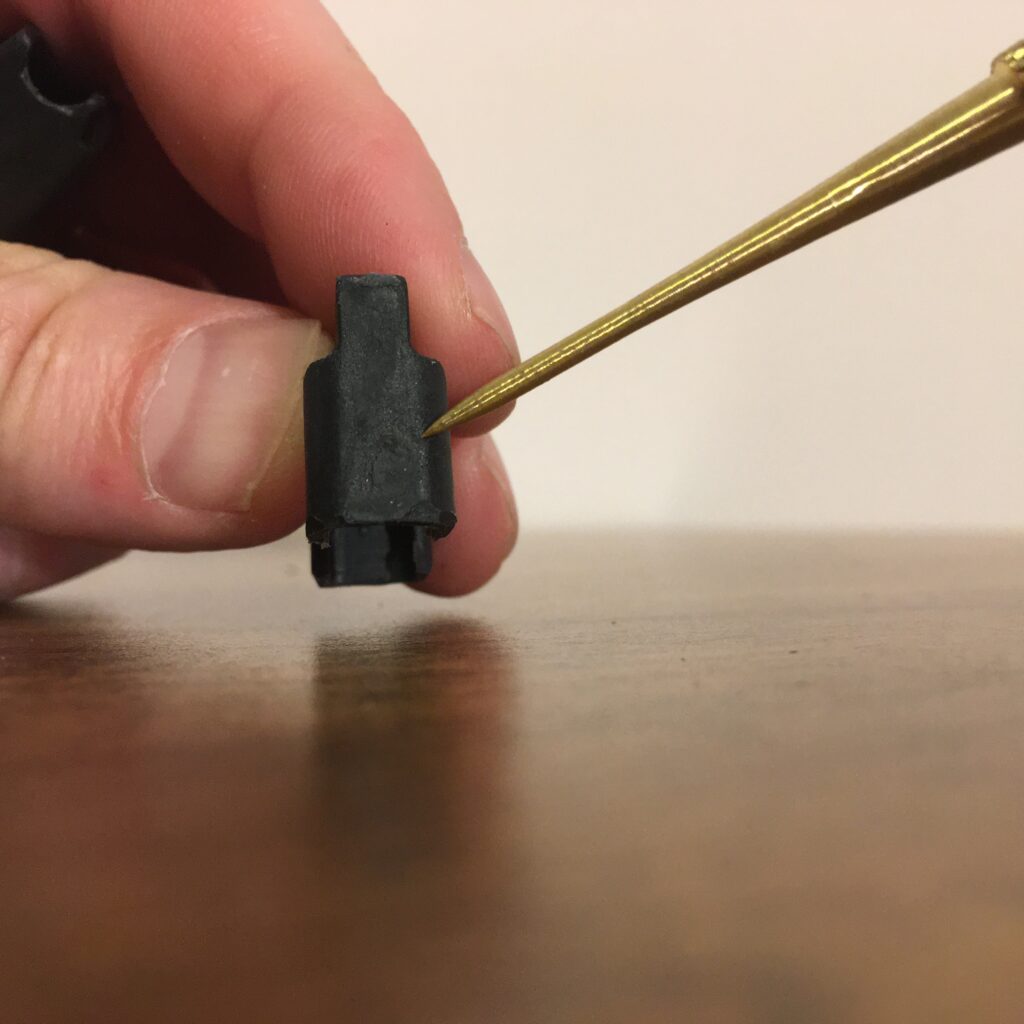
- Use a dry paper towel to remove any fouling from the magazine follower and spring.
- Reassemble the magazine follower and spring into the magazine body. The follower should be positioned with the top surface angling forward. When clean, the follower should move freely through the body.
Step 5: Reassemble the rifle.
- Now reassemble the rifle, following everything you’ve done in the reverse order.
- The bedding bolts should be tightened to 5nM. The bedding bolts should be checked for tightness frequently.
- The tape will allow you to mount the sight in the exact same location along the sight rail (if sight was removed).
- Coat all exterior metal surfaces with a very light coat of oil – just enough to remove fingerprints and protect the surfaces from rust.
- Prior to your next zero, it is advisable to “foul” the barrel.
- The first 5-20 shots after cleaning a rifle are rarely accurate due to microscopic imperfections in the bore of the rifle. These first few shots fill these imperfections with a small amount of fouling.
- It is common for the point of impact of the first 5-20 shots to vary significantly from the point of impact once the barrel has been “fouled”.
- For this reason, it is not recommended to clean your rifle immediately prior to a competition. Instead, clean it prior to official training for the event.
Race Day or After Practice Cleaning
- After each practice, it is recommended to run several dry patches through the bore after practice. This removes debris from the bore and reduces wear in between cleanings. A cable rod is best for this as it requires no disassembly of the rifle. Always pull the patch from the breech to the crown.
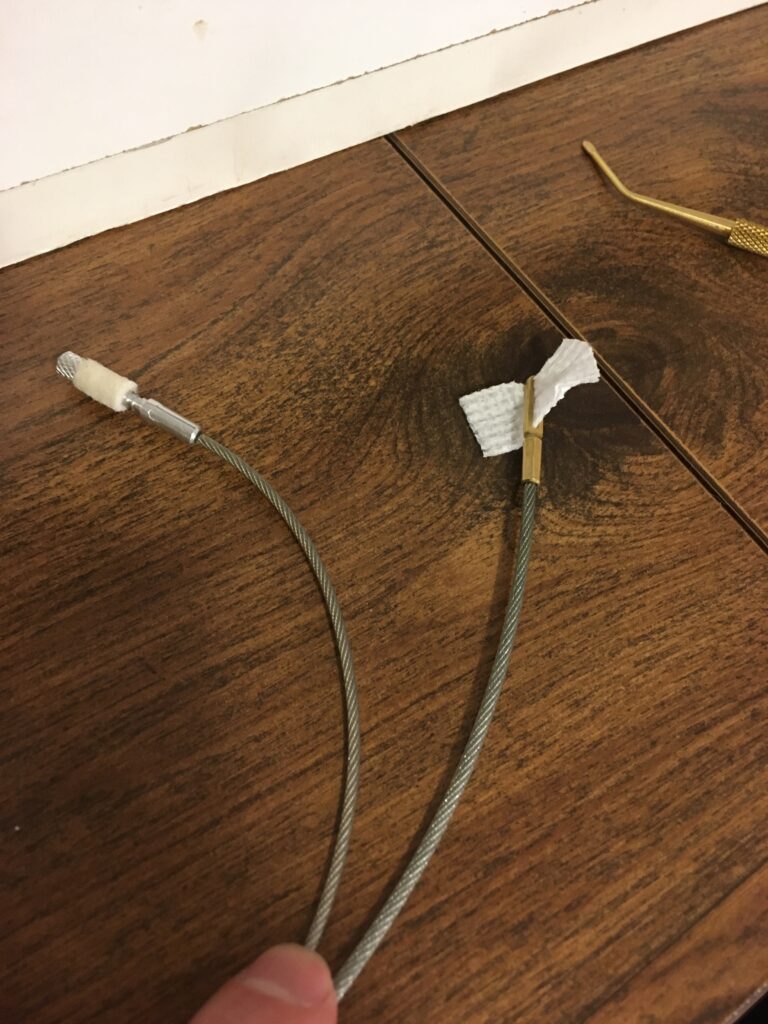
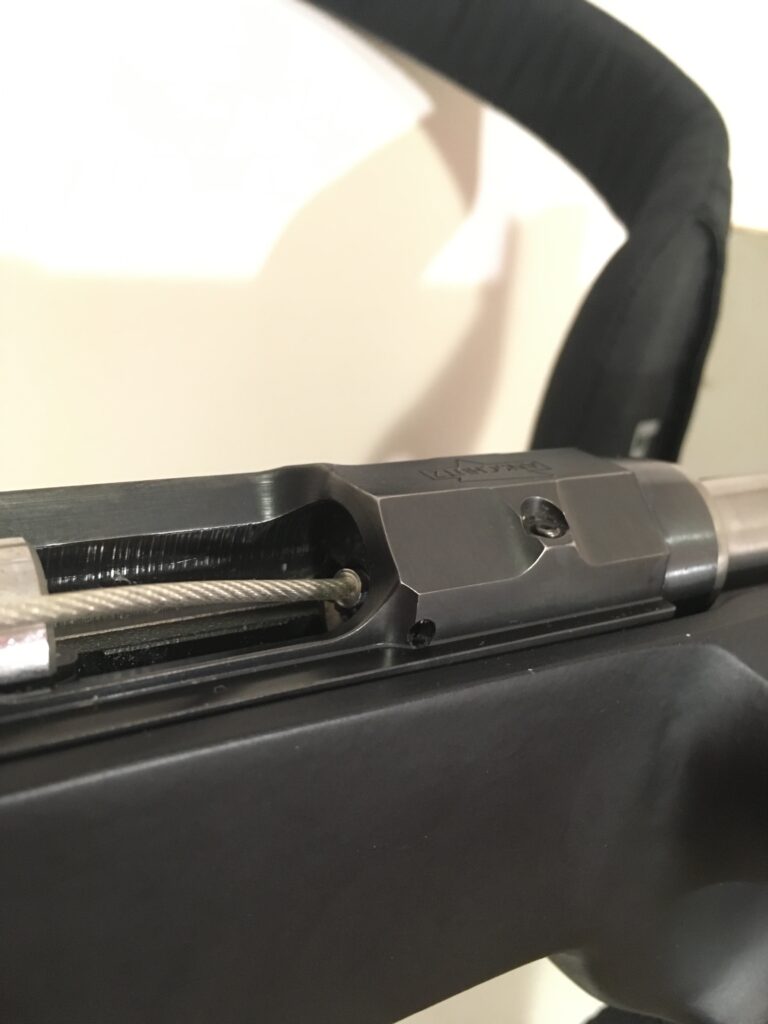
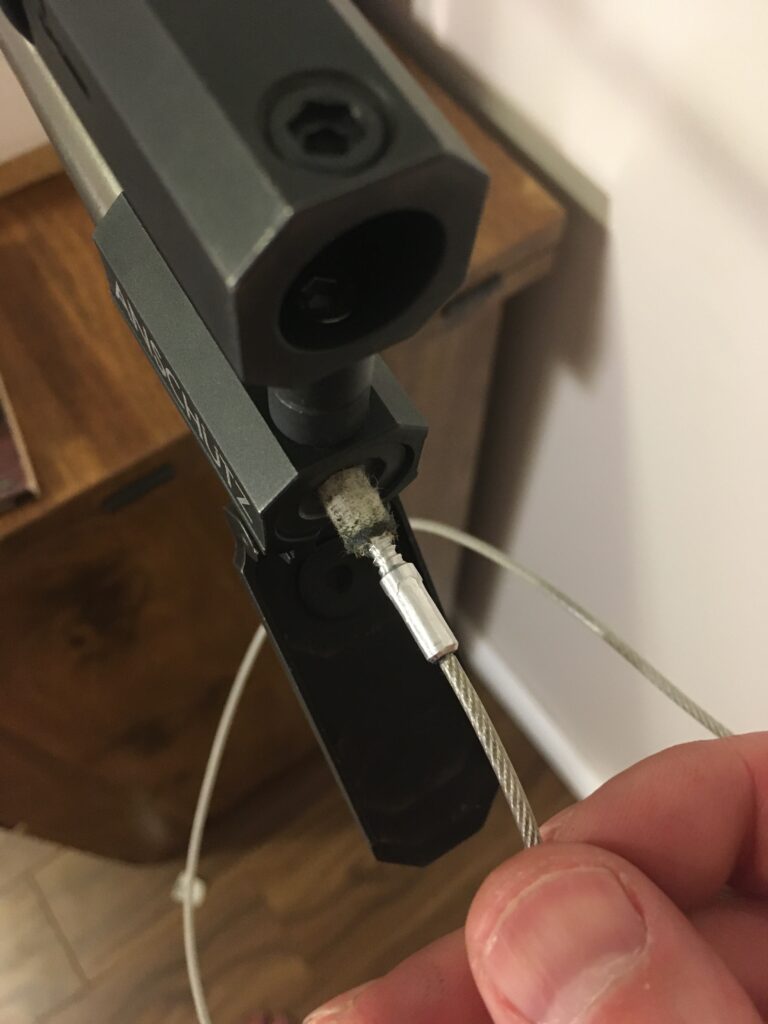
- In the winter, when the rifle is cold from the weather, wait a few hours for the rifle to warm up. The barrel will have condensation when it warms up. The dry patches will remove any water droplets from the bore and prevent rusting/pitting.
- Wipe with a dry cloth to remove any moisture from the metal surfaces of the rifle.
- Lightly coat the metal surfaces with gun oil.


